

How to Track Attendance for an Event?
A guide for tracking attendance in the Quiltt admin portal.
Quiltt Dashboard > Left-Hand Menu > Events
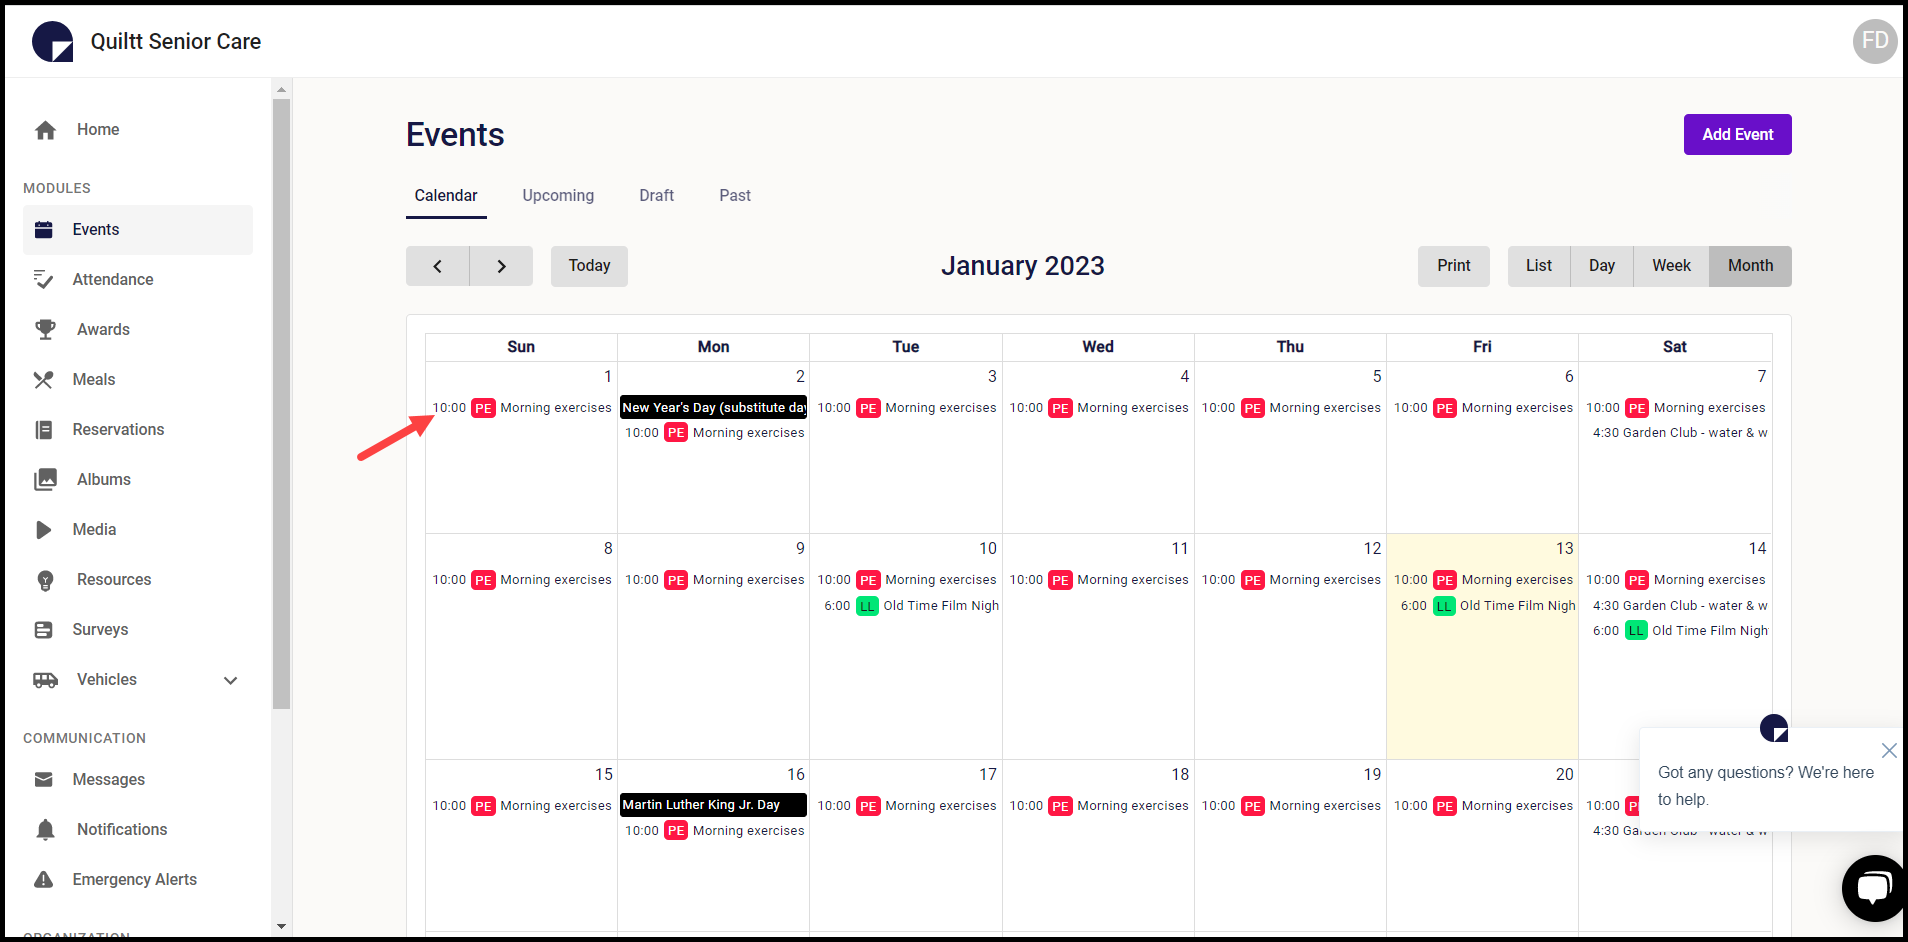
1. Follow the above-mentioned workflow to land on the Calendar tab of Events section.
2. Select a past event by clicking that event name from the calendar. Doing so opens the selected event details.
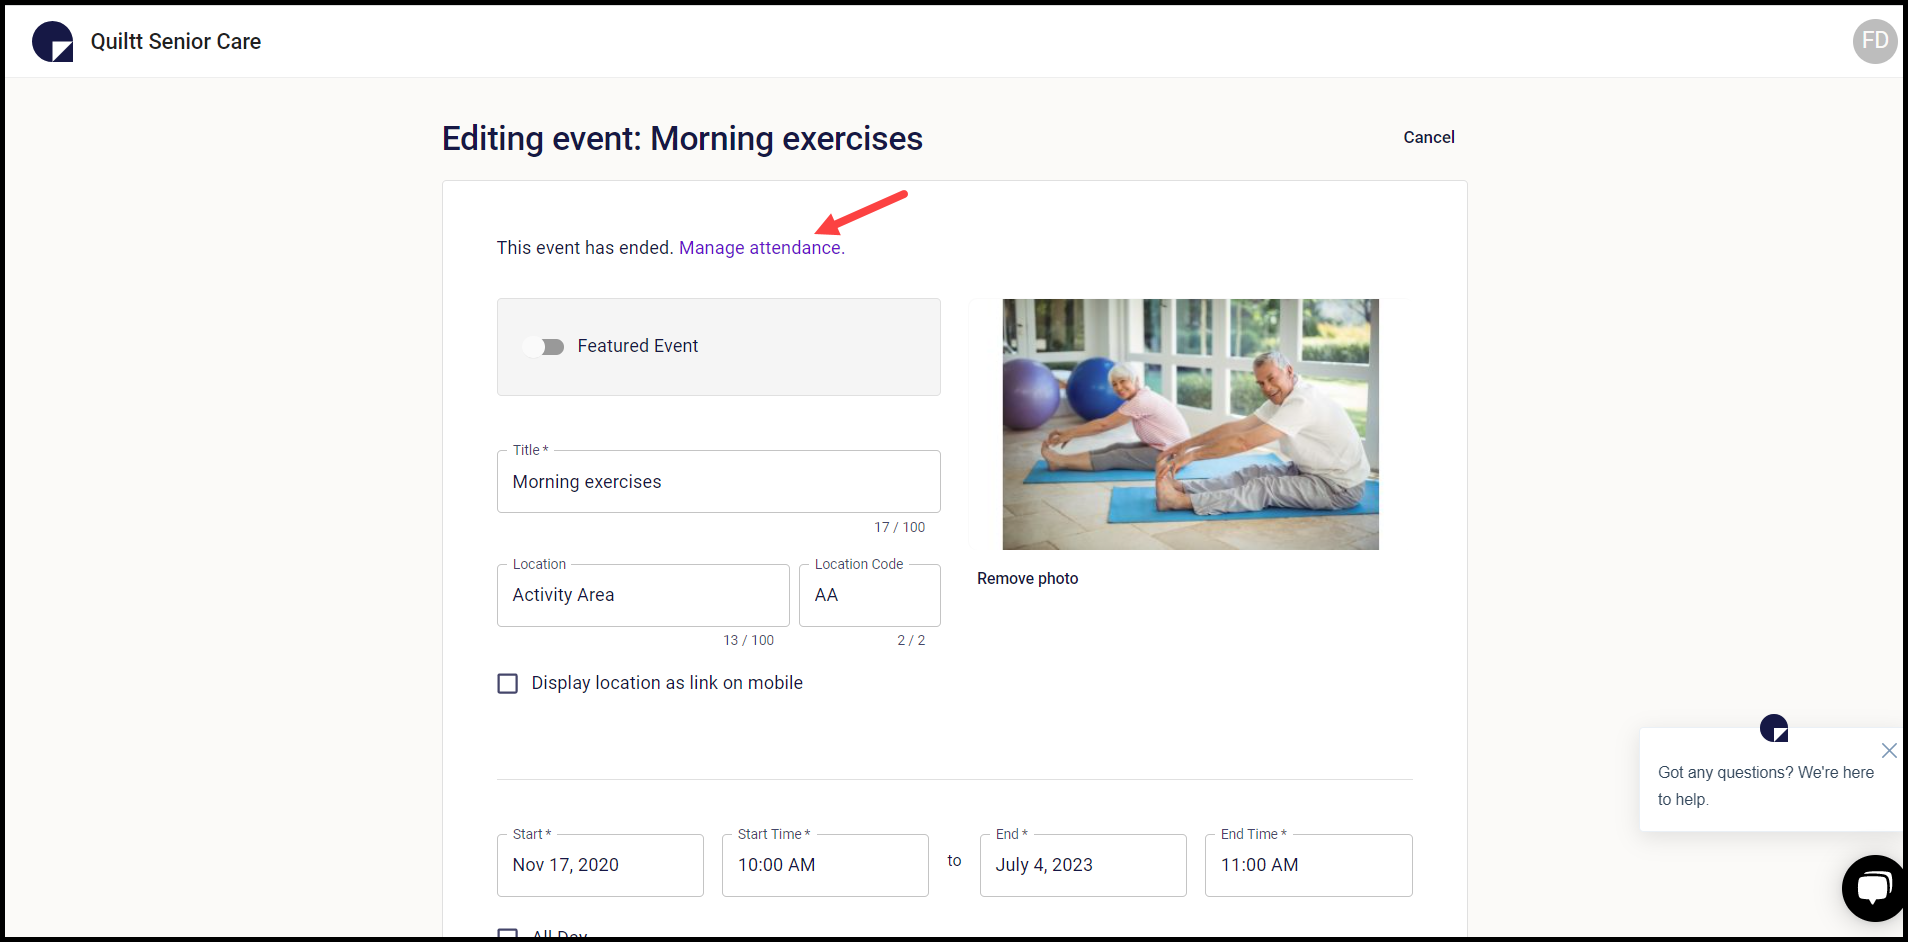
3. From here, click Manage Attendance.
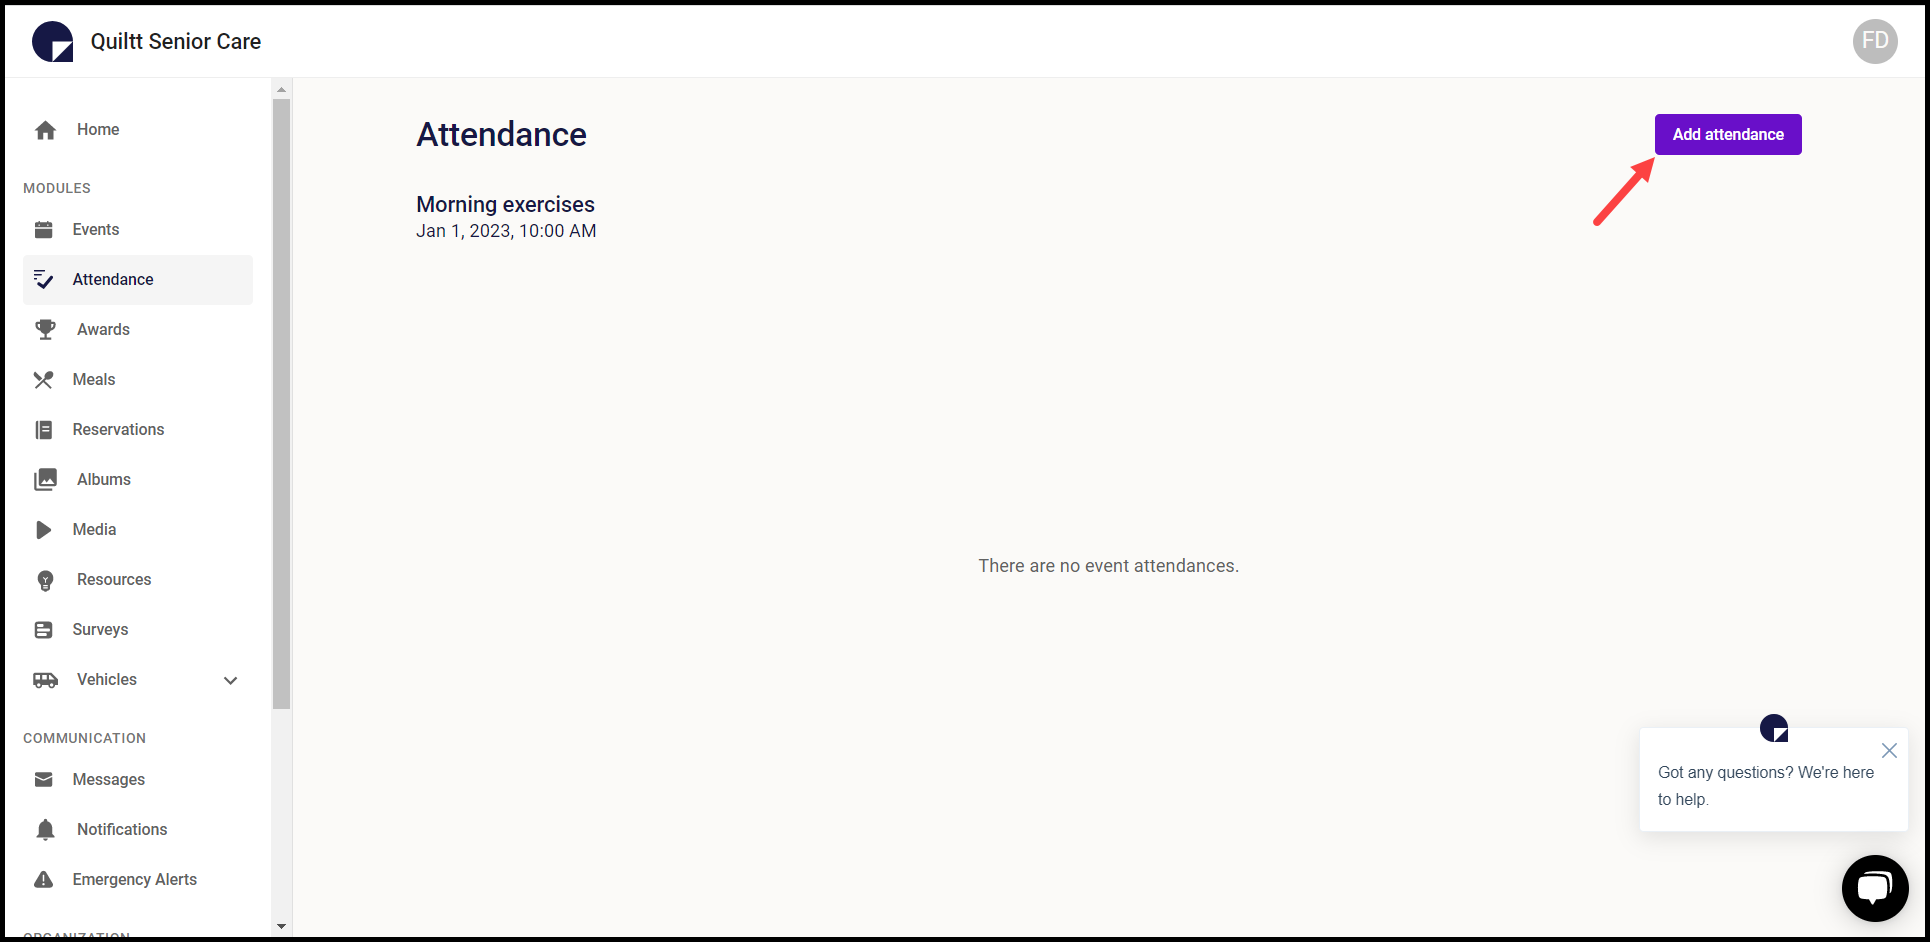
4. This takes you to the Manage Attendance screen. From here, click the Add Attendance button. This opens the Selecting App Users popup where all the users are listed.
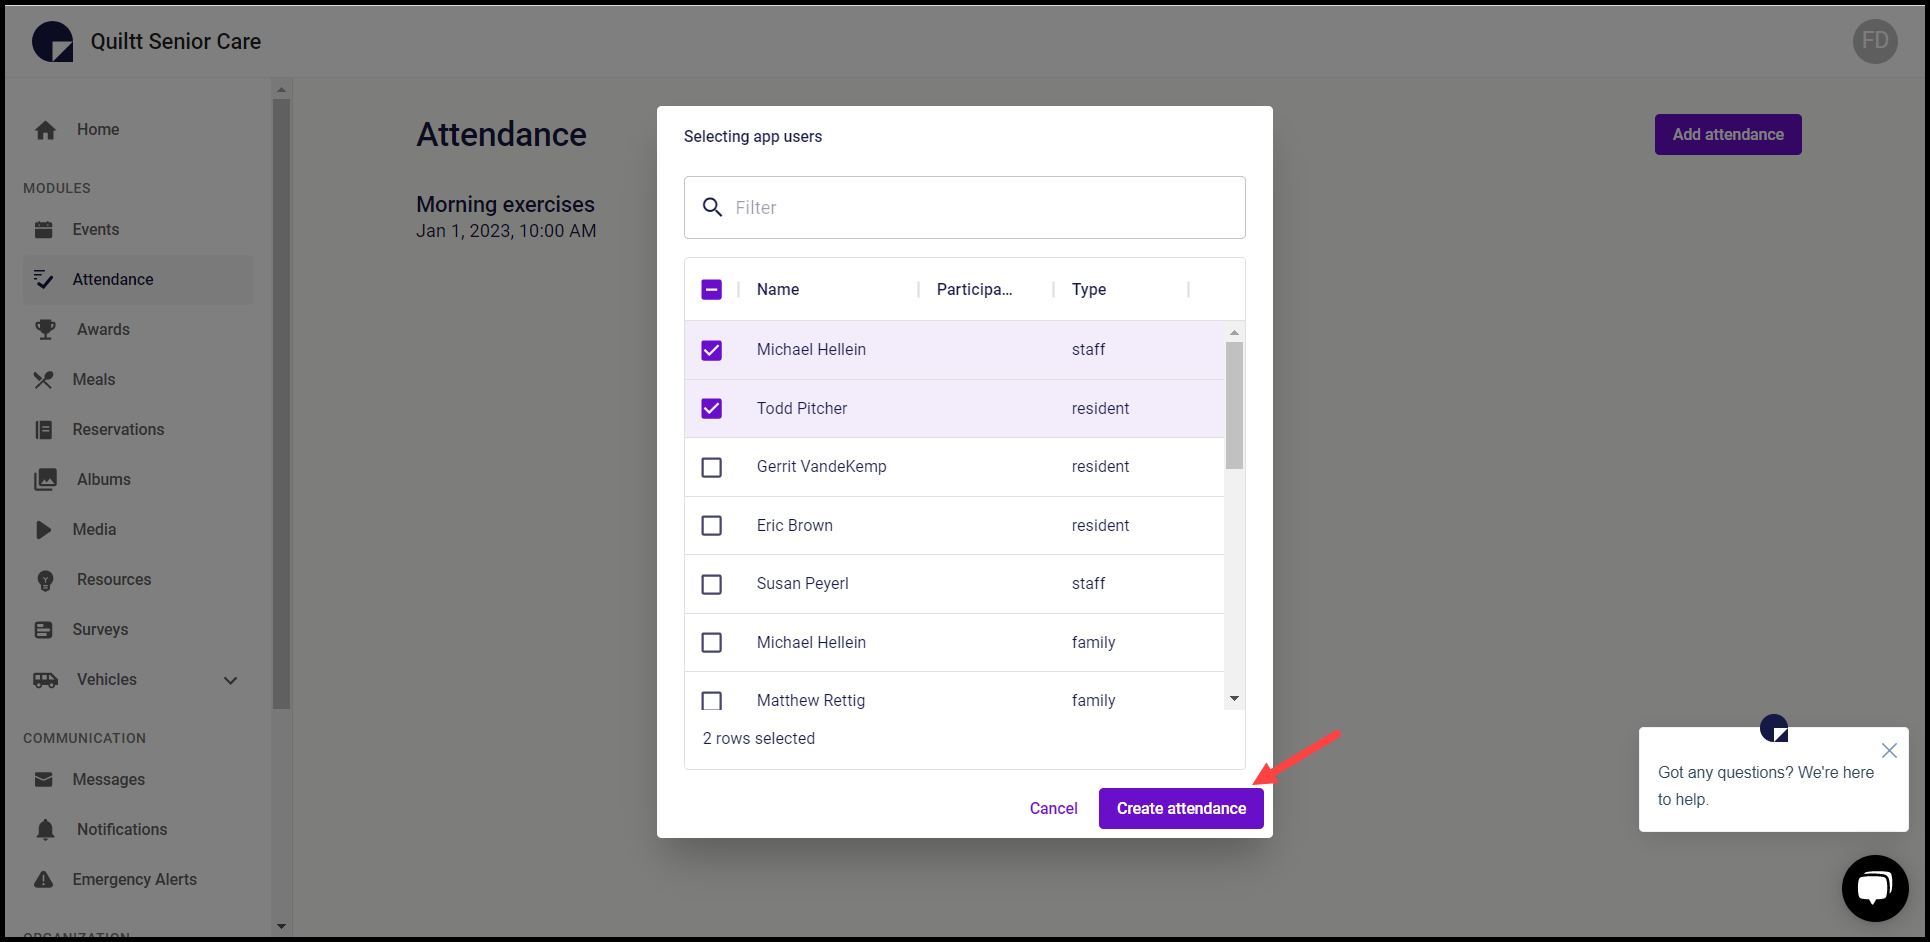
5. Select the user(s) for whom you want to create attendance by marking the corresponding checkbox.
6. Once the selections are made, click the Create Attendance button.
7. This creates the attendance for the selected users and lists them on the Attendance screen.
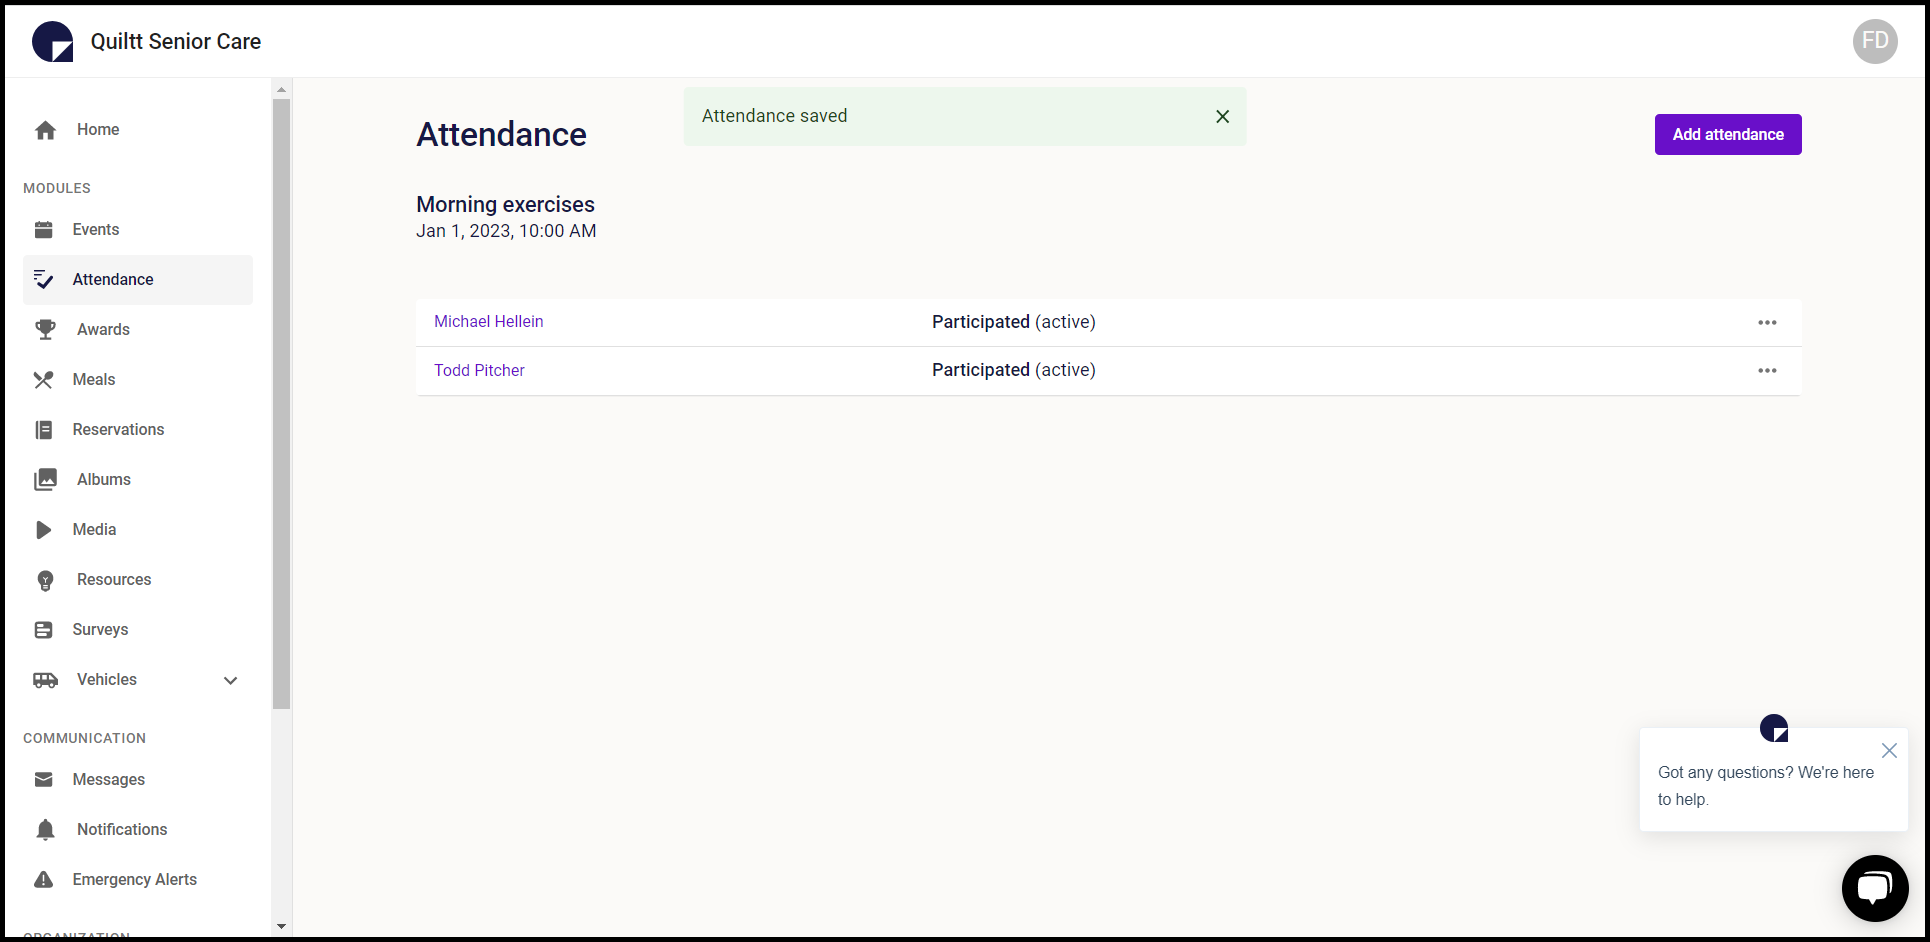
8. Clicking the three-dot icon from a user row reveals a couple of options that include Edit Attendance and Delete Attendance.
