

How to Add an Event?
Quiltt > Left-Hand Menu > Events
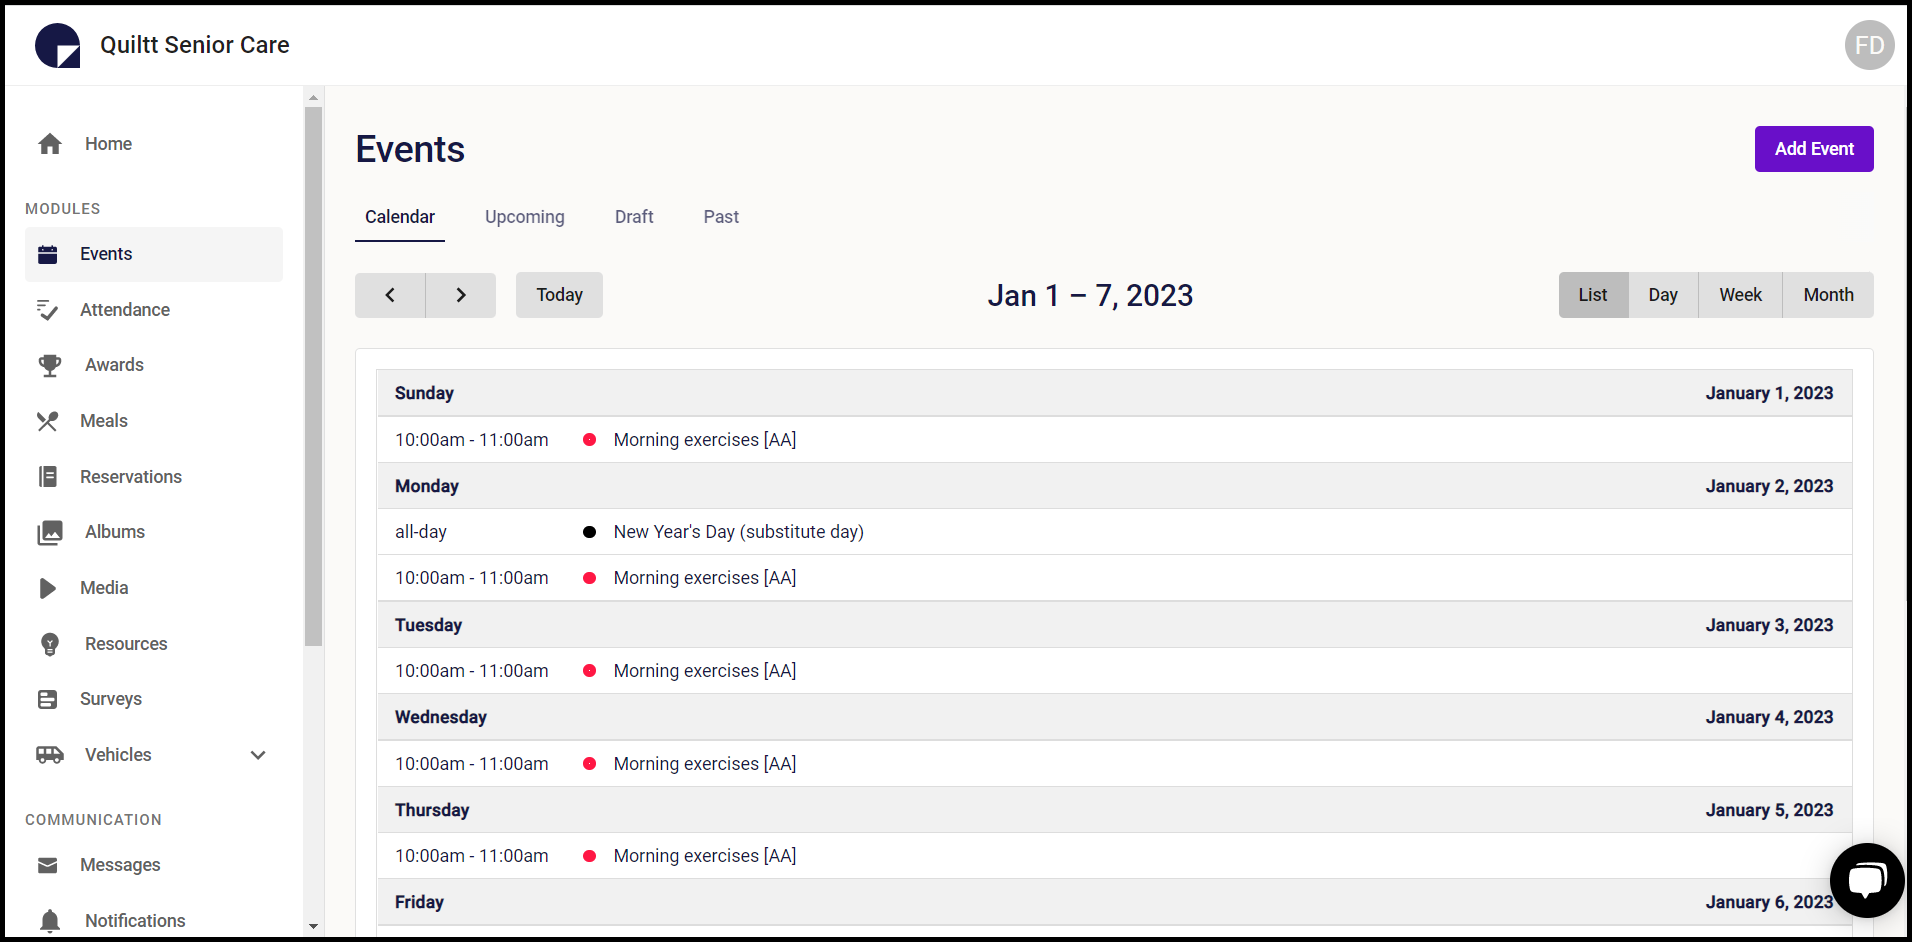
1. Follow the above-mentioned workflow to land on the Events screen.
2. Here, all the calendar events scheduled by you are displayed.
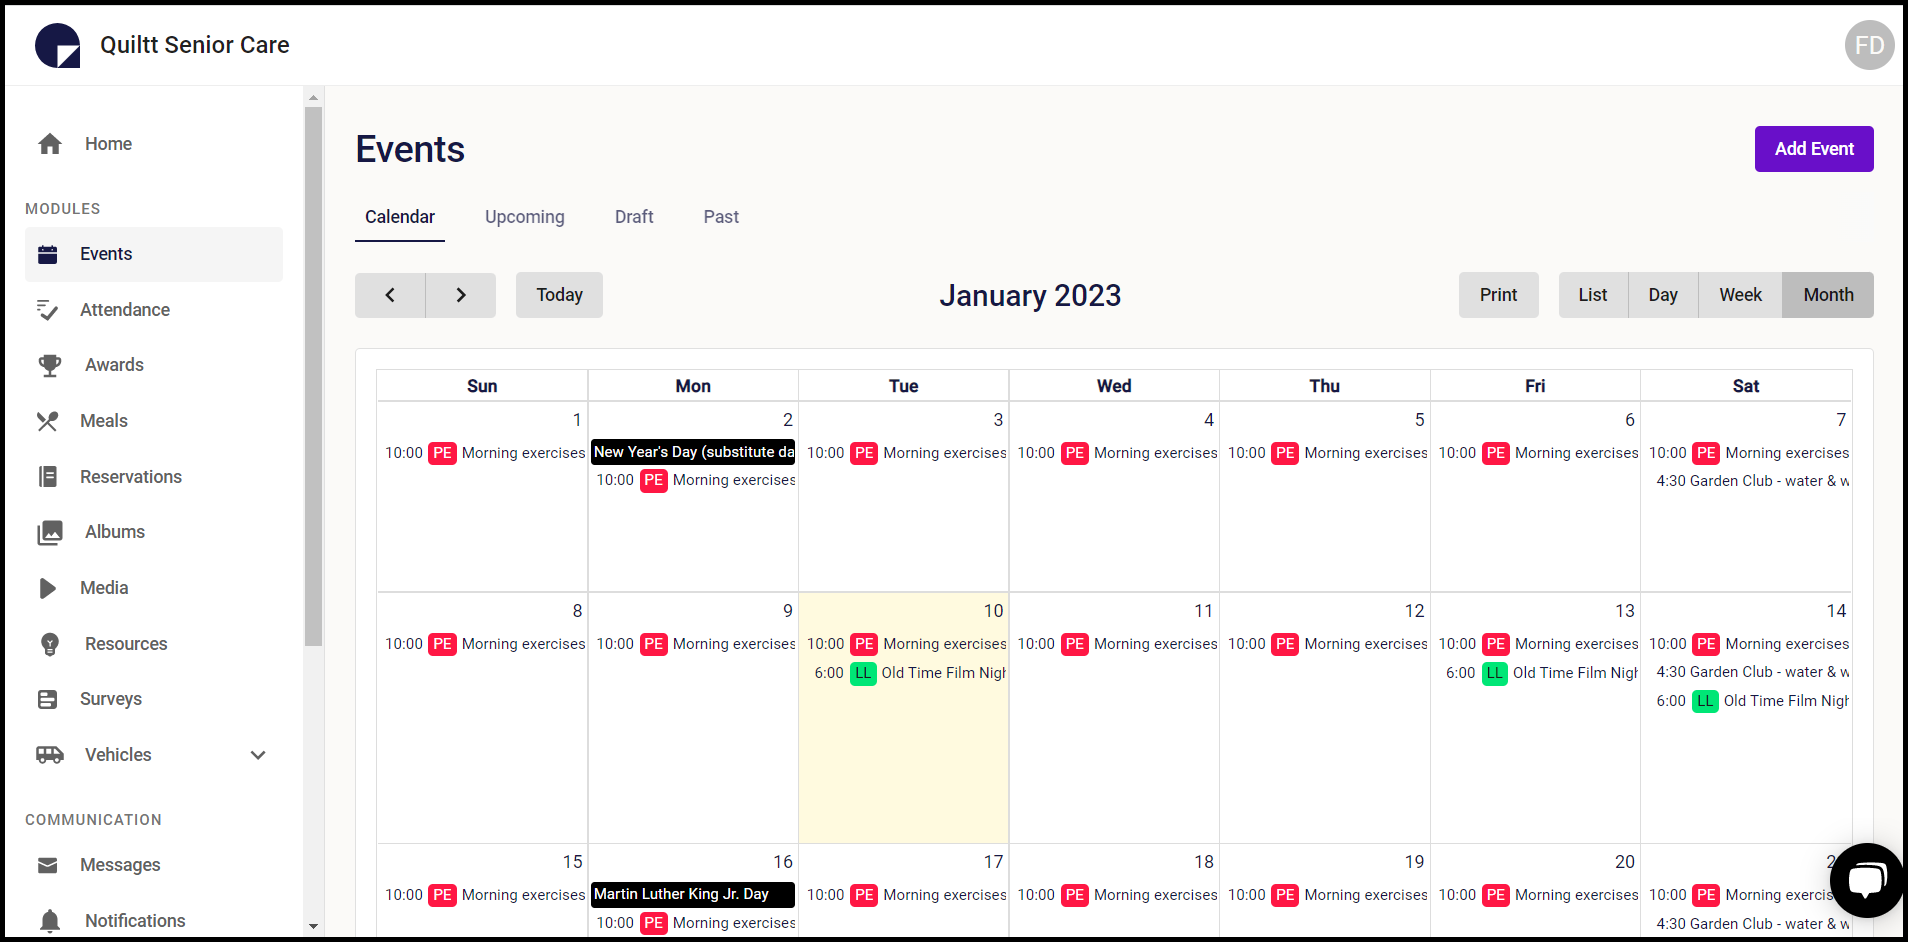
3. Clicking an event from the calendar opens that specific event in edit view so that you can make the required changes.
4. Once the changes are made, click the Save button.
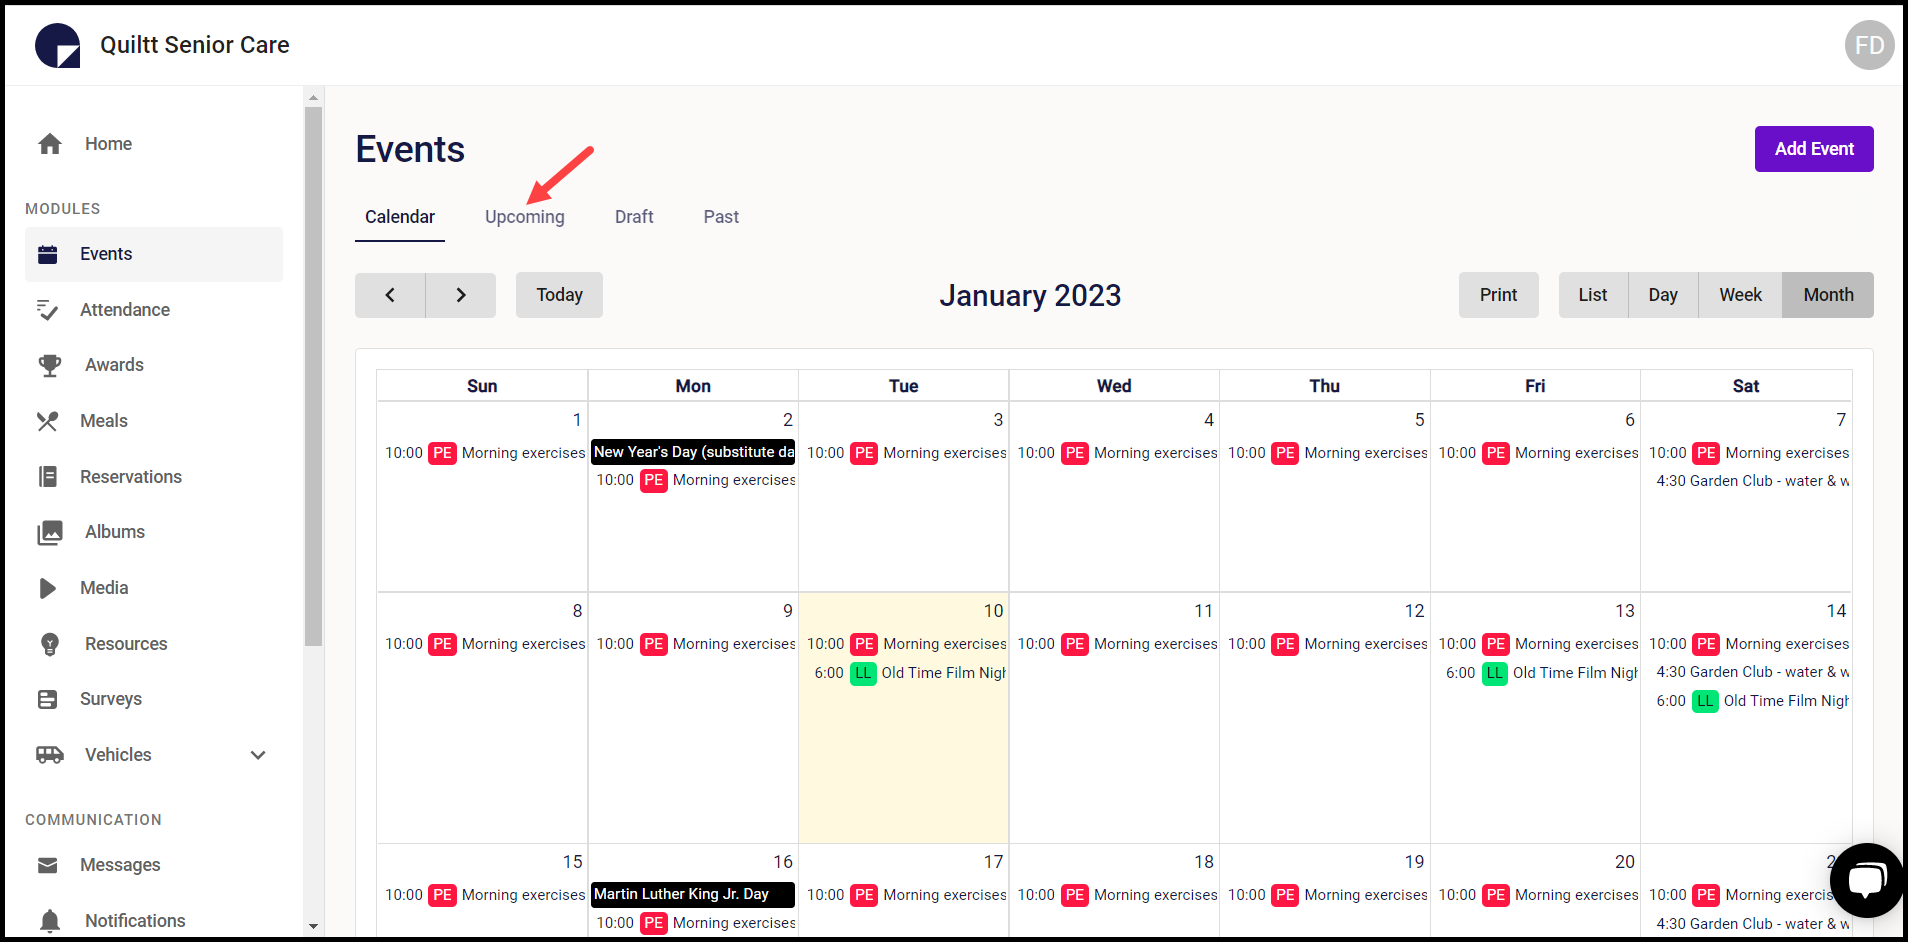
5. To view upcoming events, click the Upcoming button. This takes you to the upcoming events category.
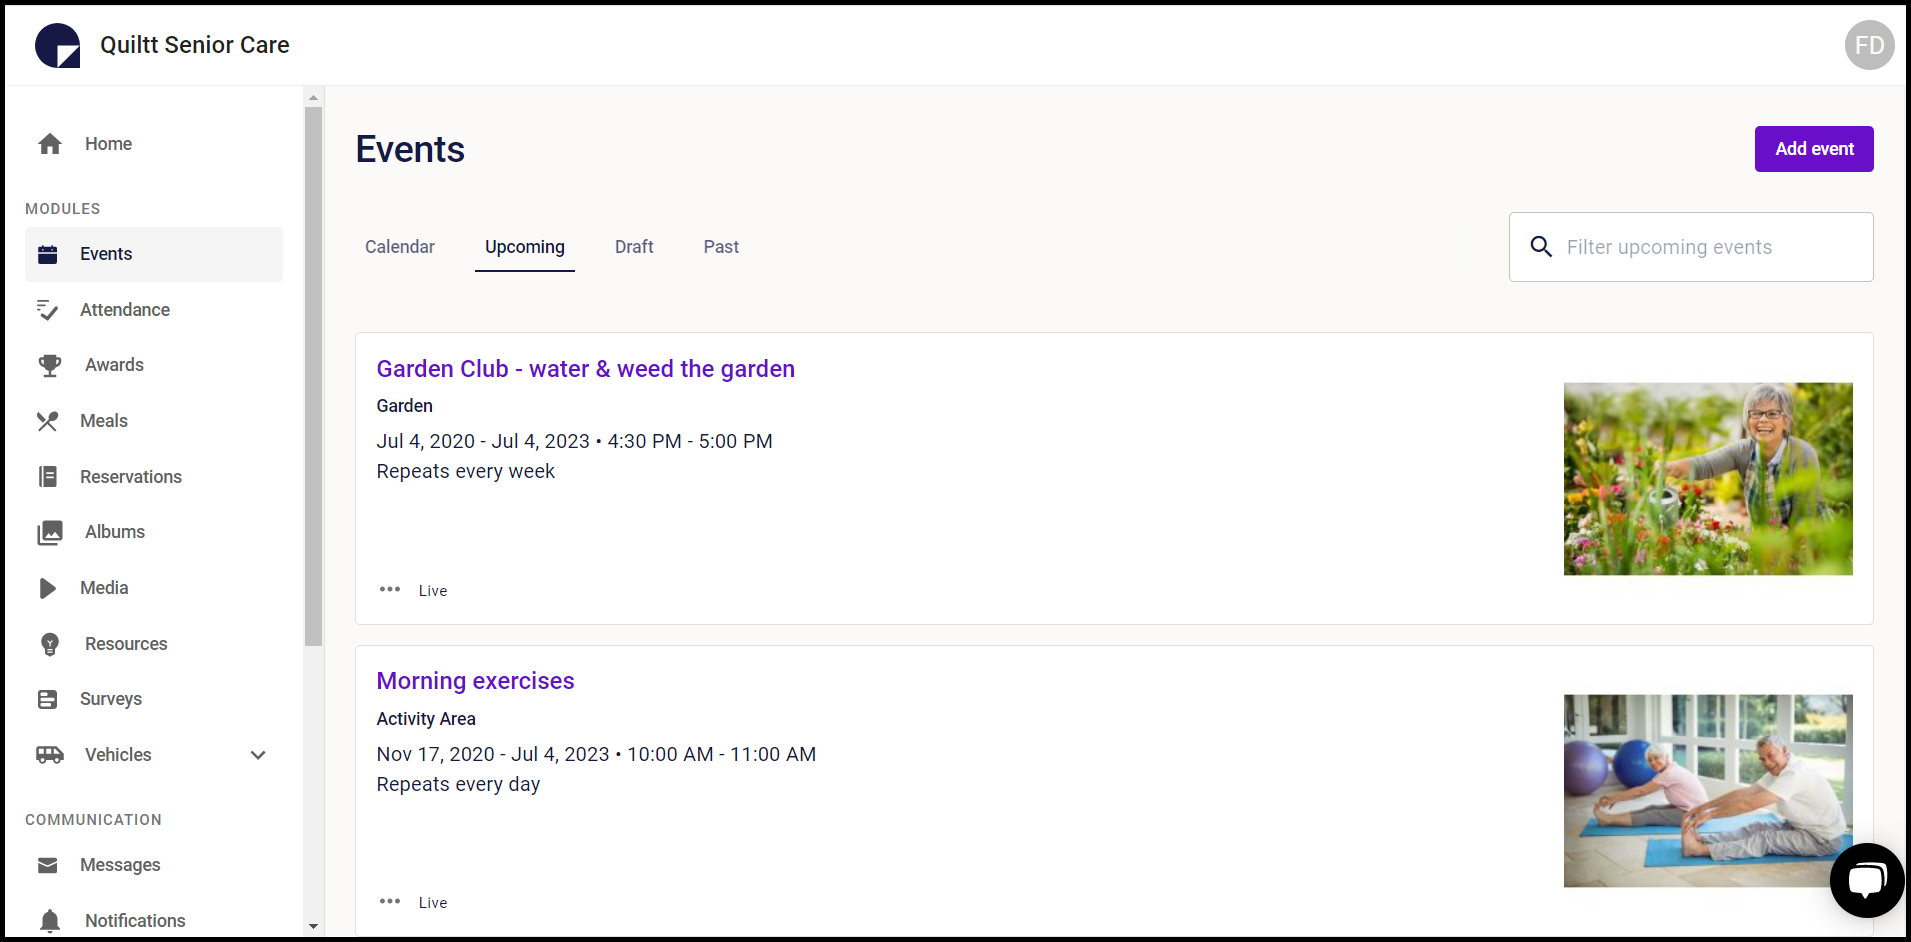
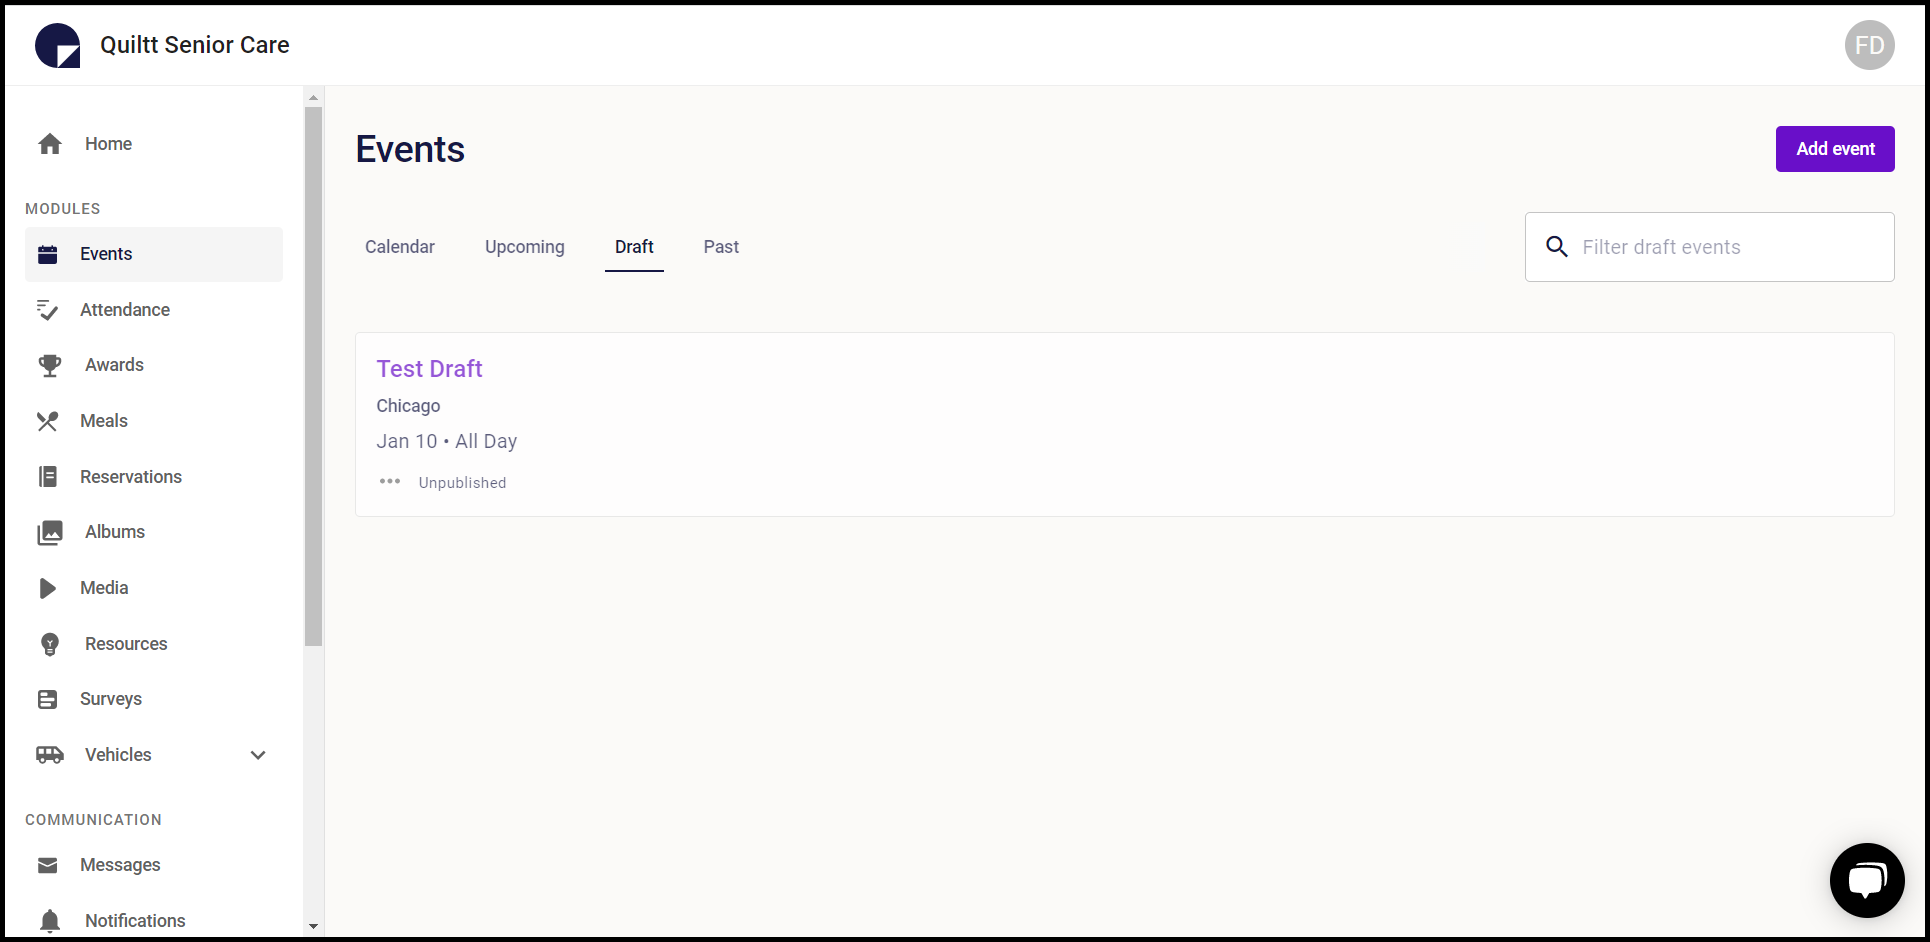
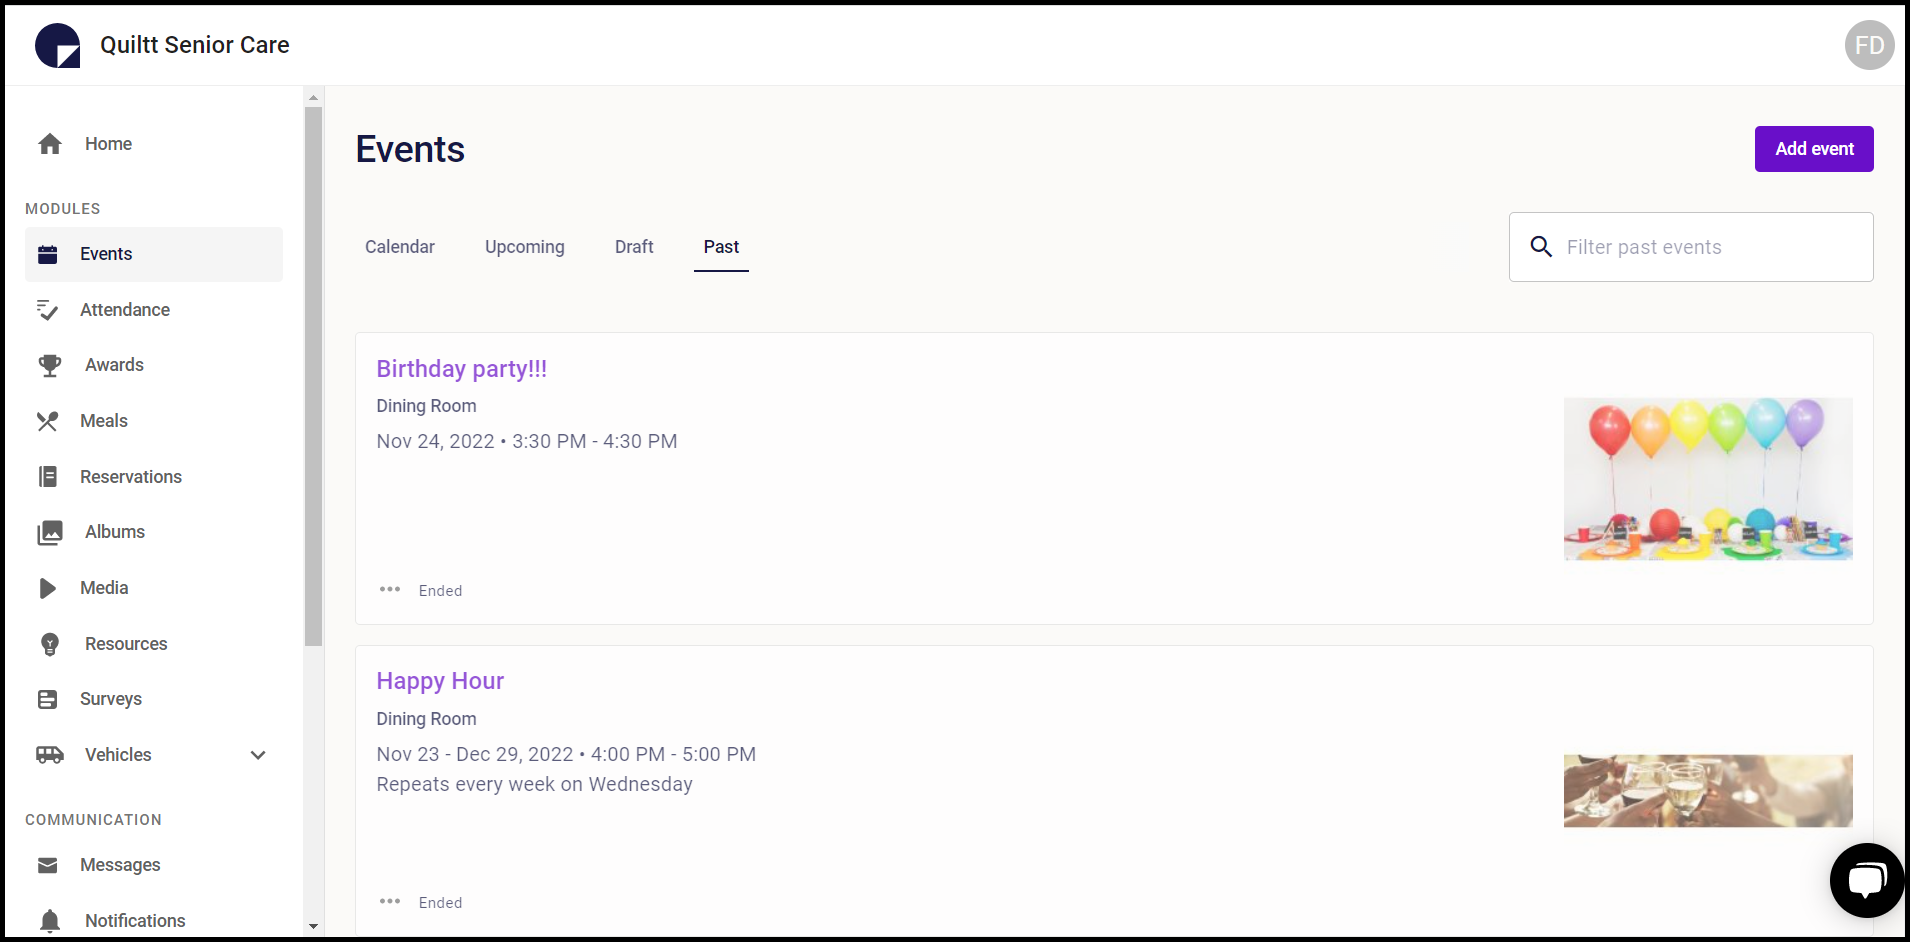
6. Similarly, you can view the draft as well as past events.
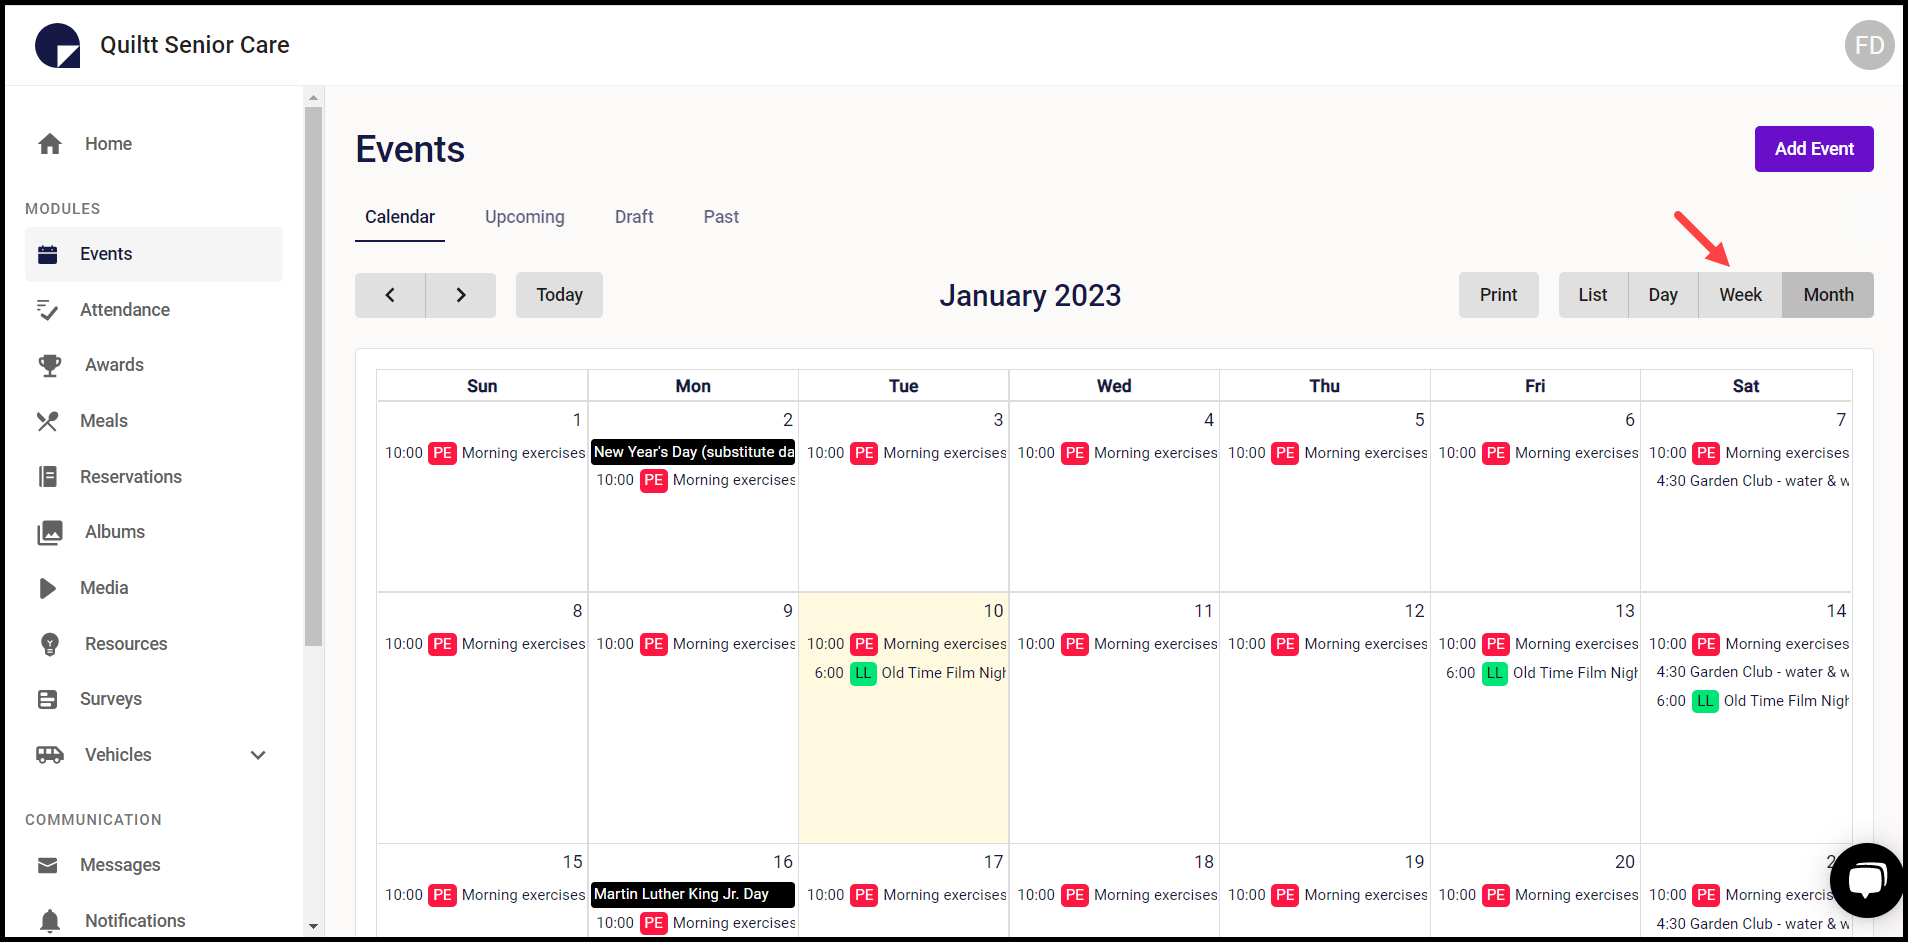
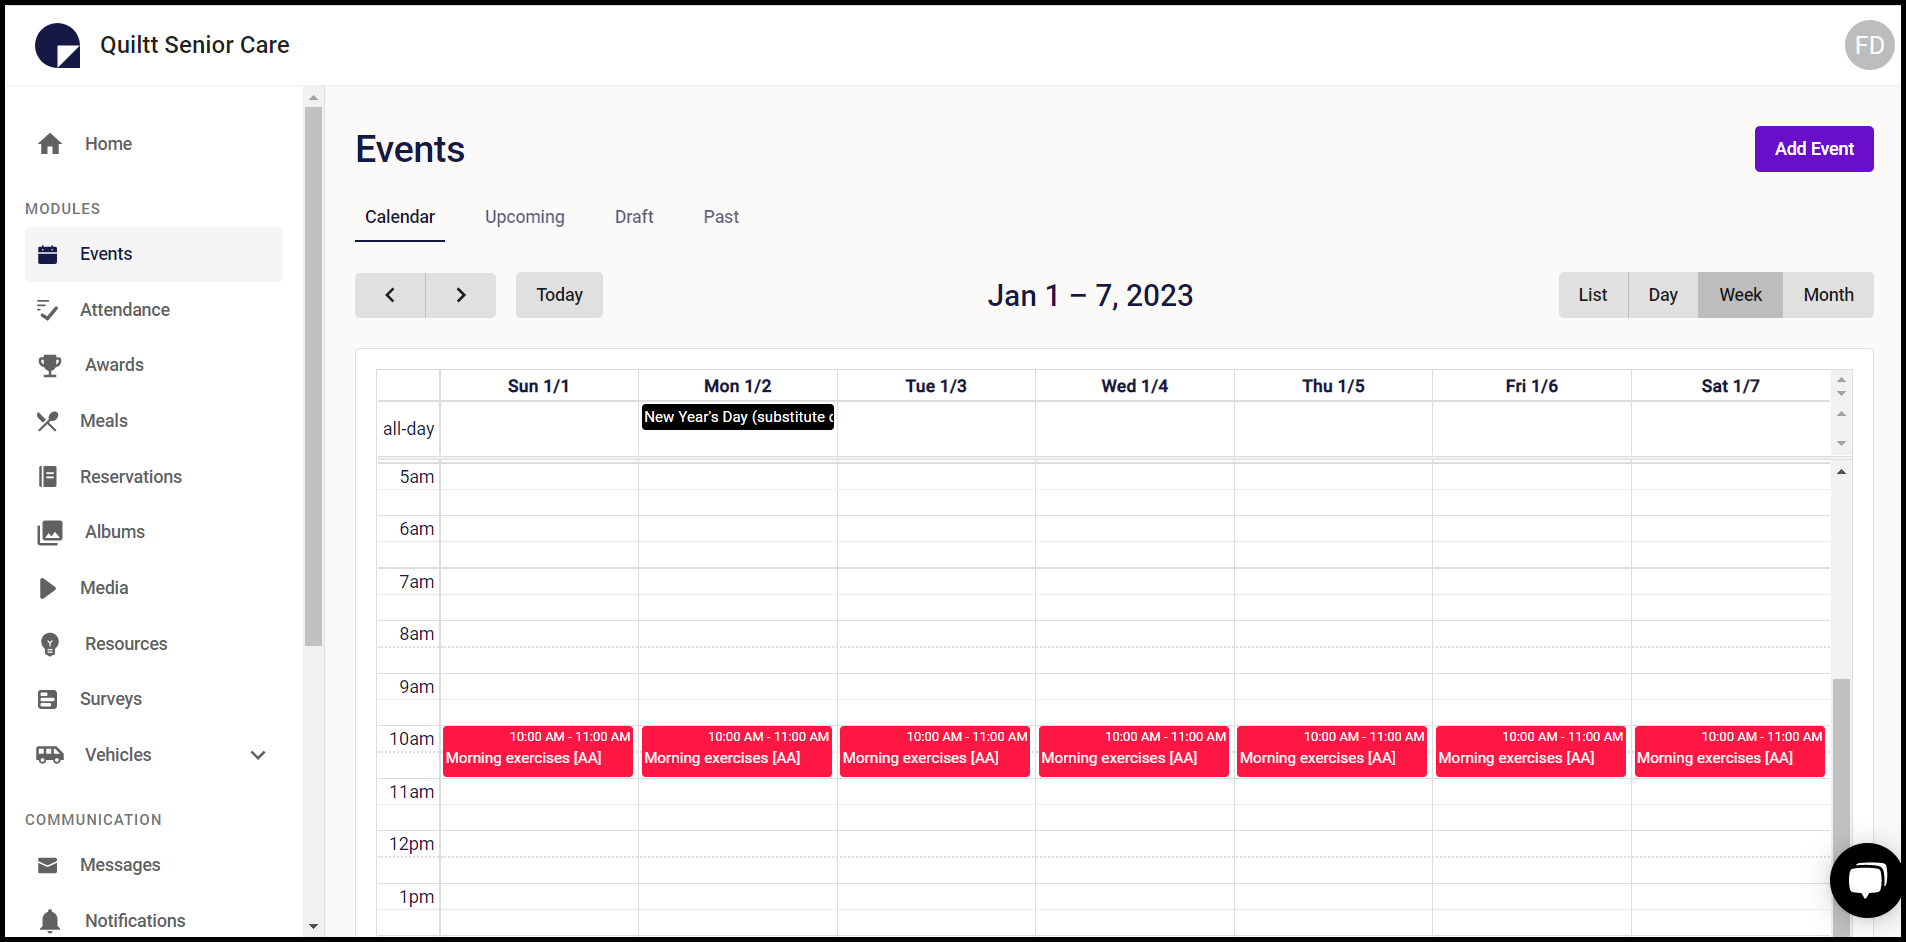
7. By default, the monthly view for the calendar is displayed. However, you can set it to weekly, daily, or list view by clicking the corresponding action buttons in the top-right menu.

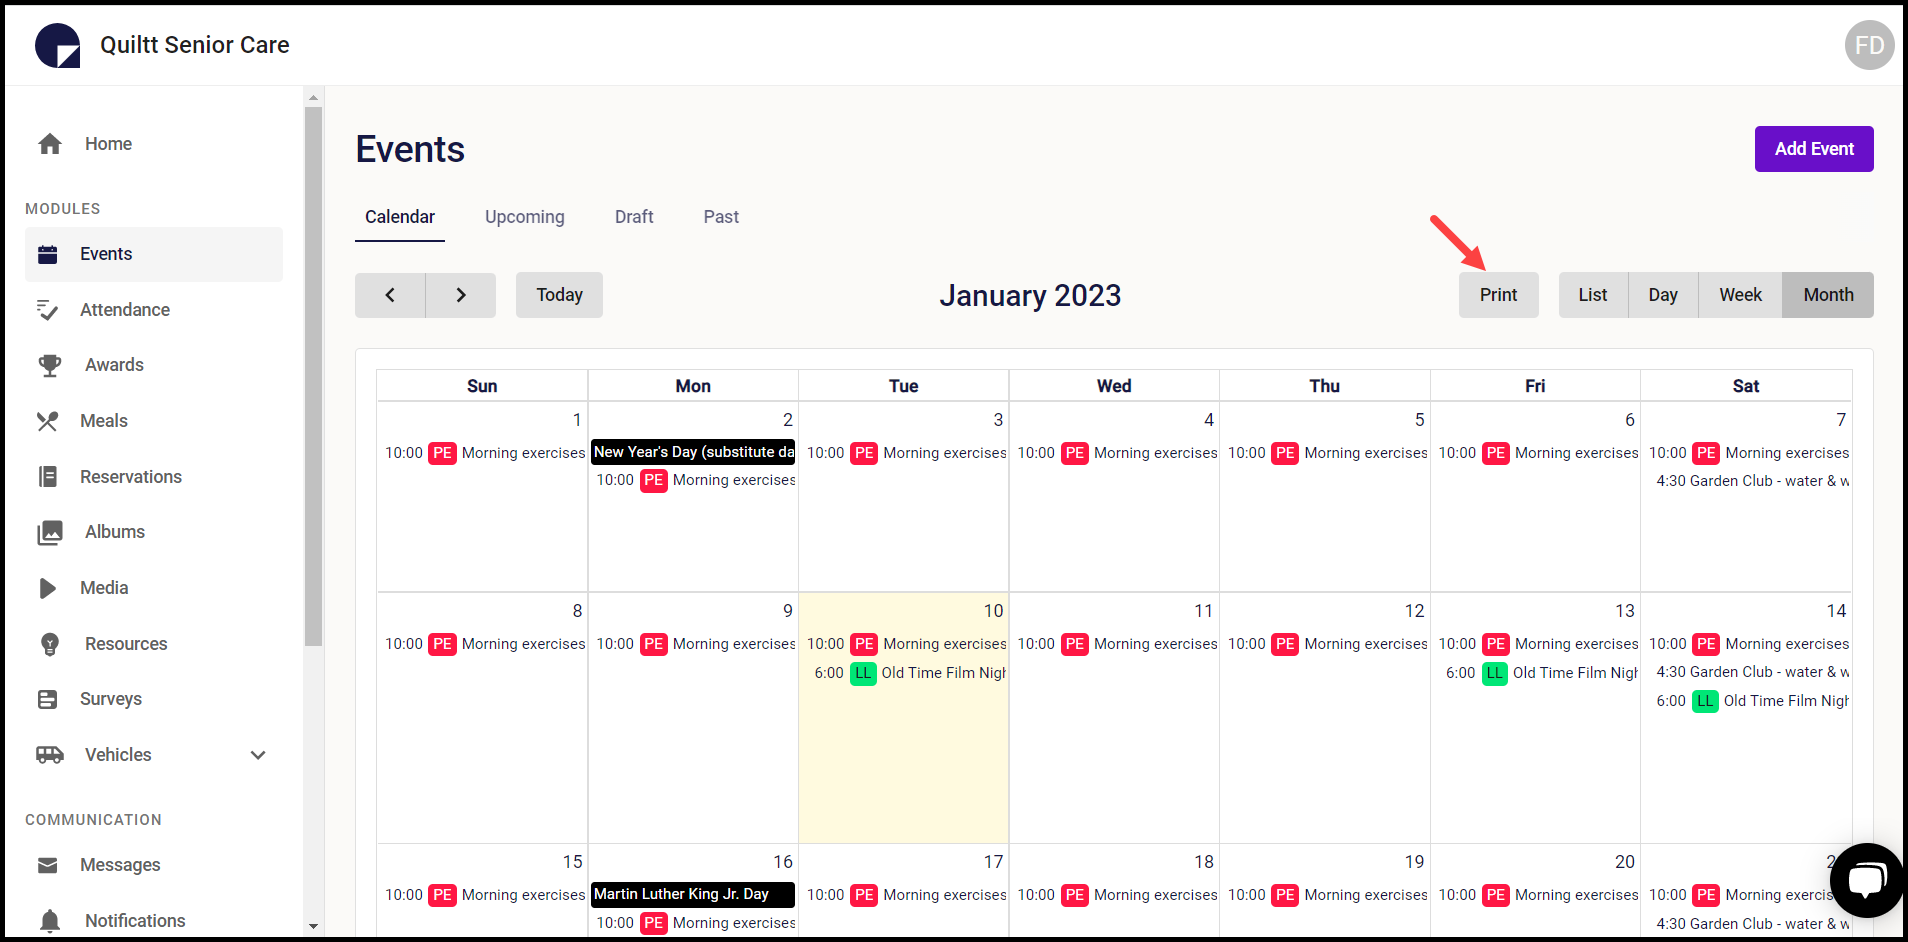
8. To print the events grid, click the Print button.
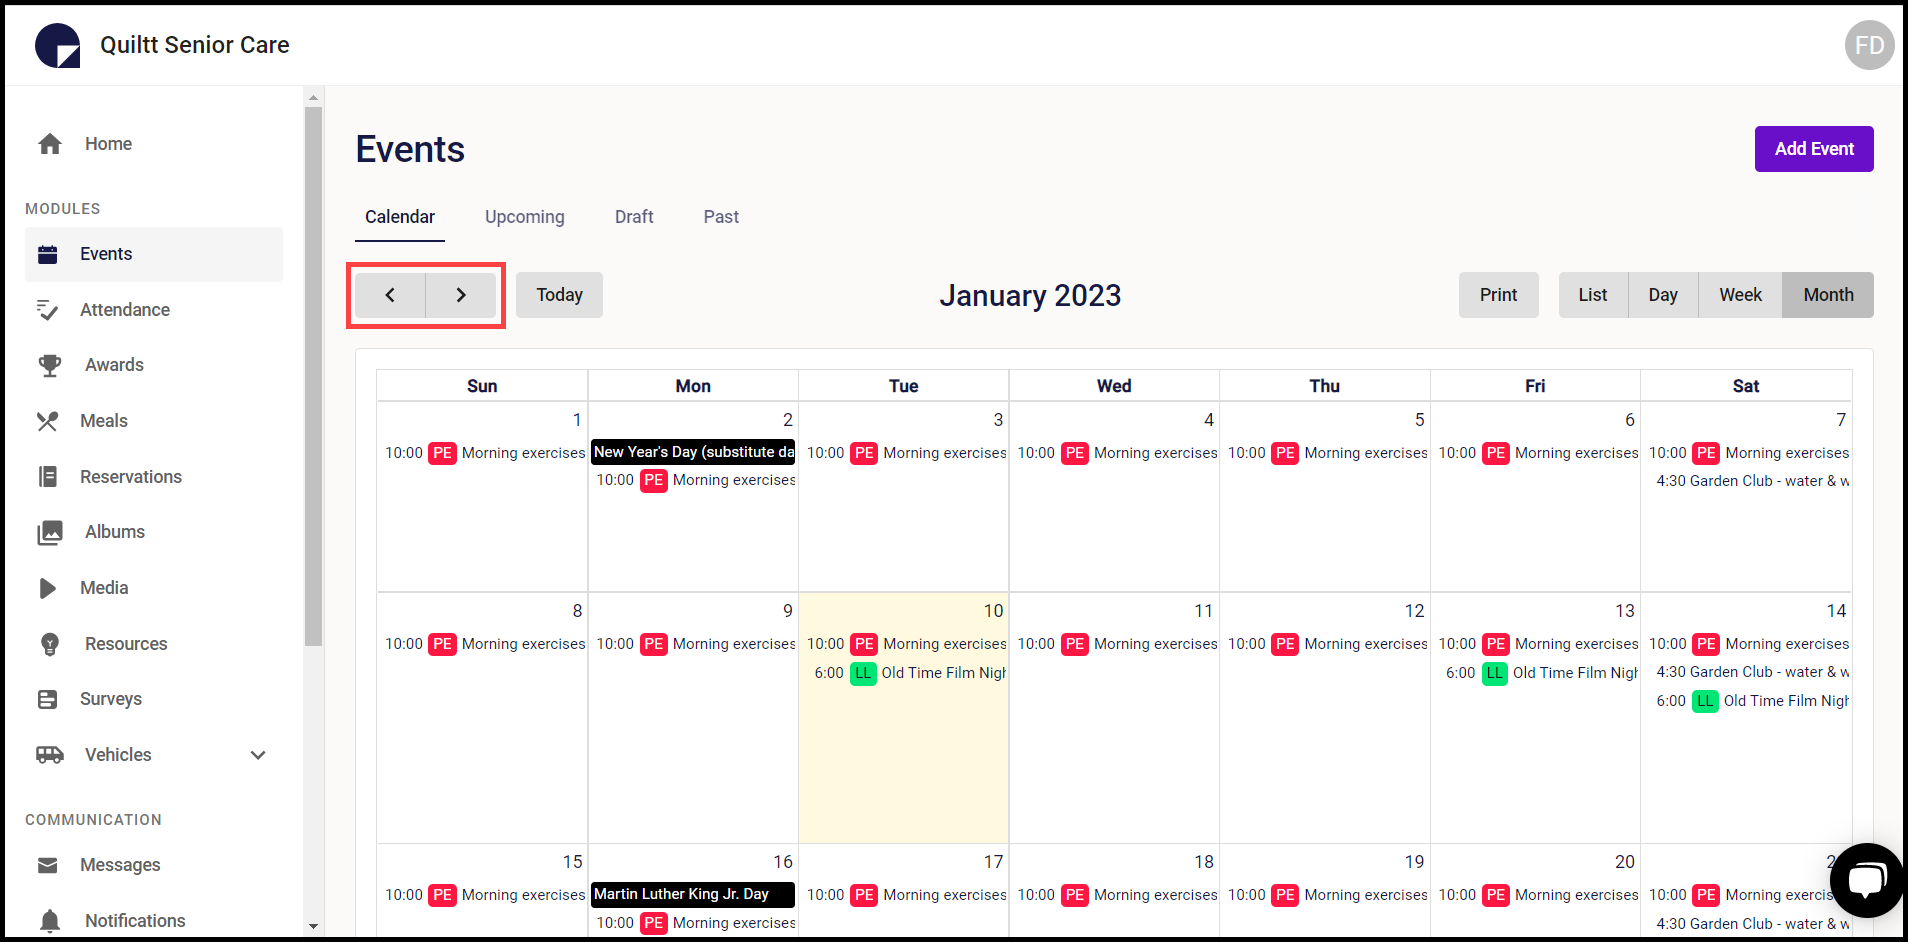
9. By default, events for the current date are displayed. However, you can change the date using the arrow buttons right before the Today button.
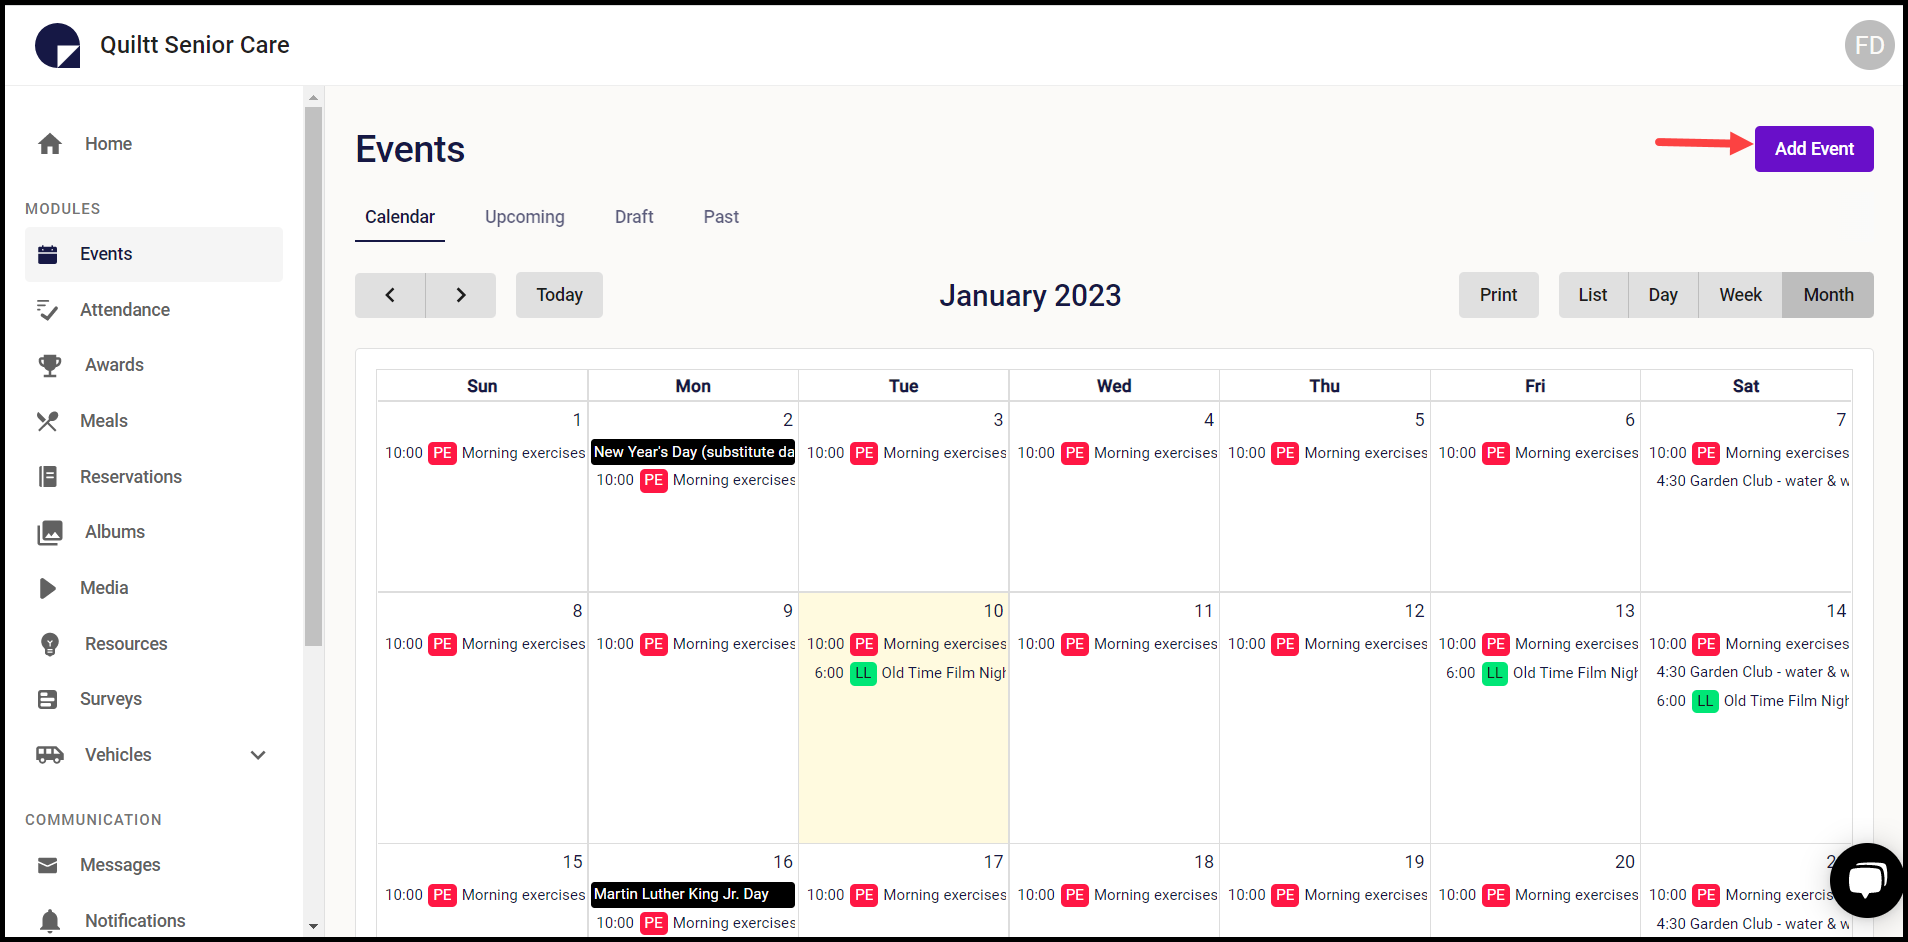
10. To add a new event, click the Add Event button. This opens the New Event screen.
11. If this is a featured event, enable the Featured Event toggle.
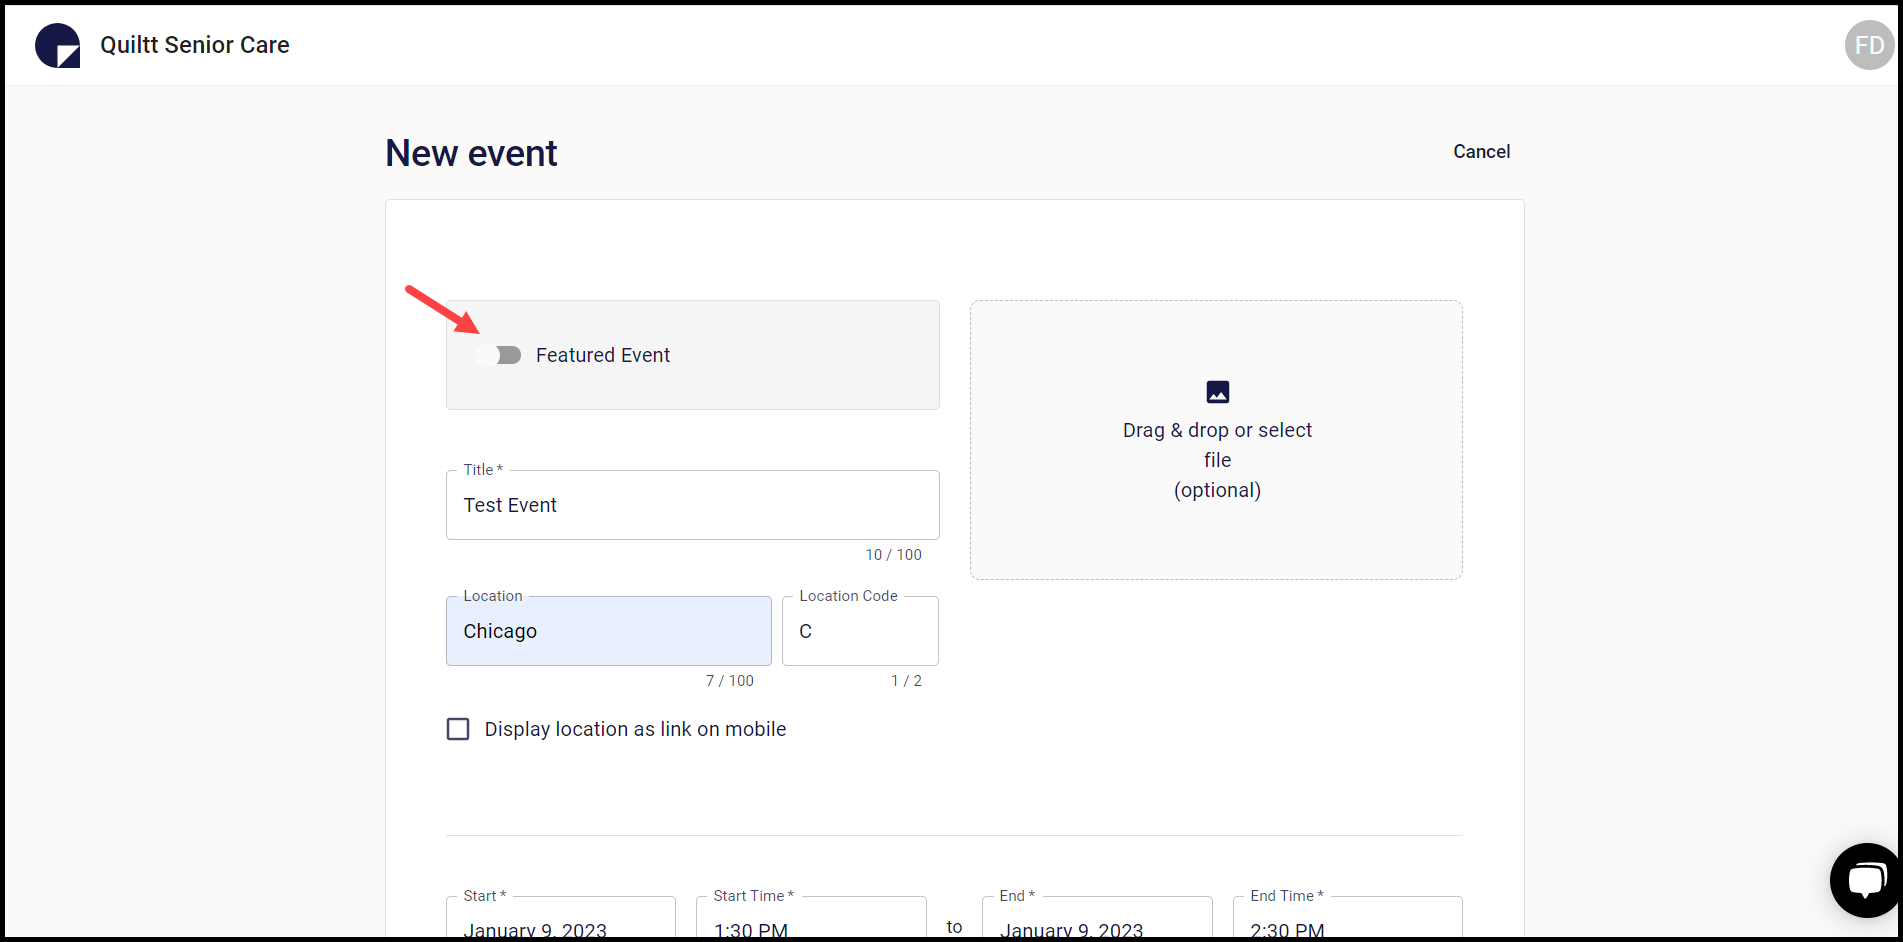
12. Enter the event title in the Title field.\

13. Enter the location of the event using the Location field.
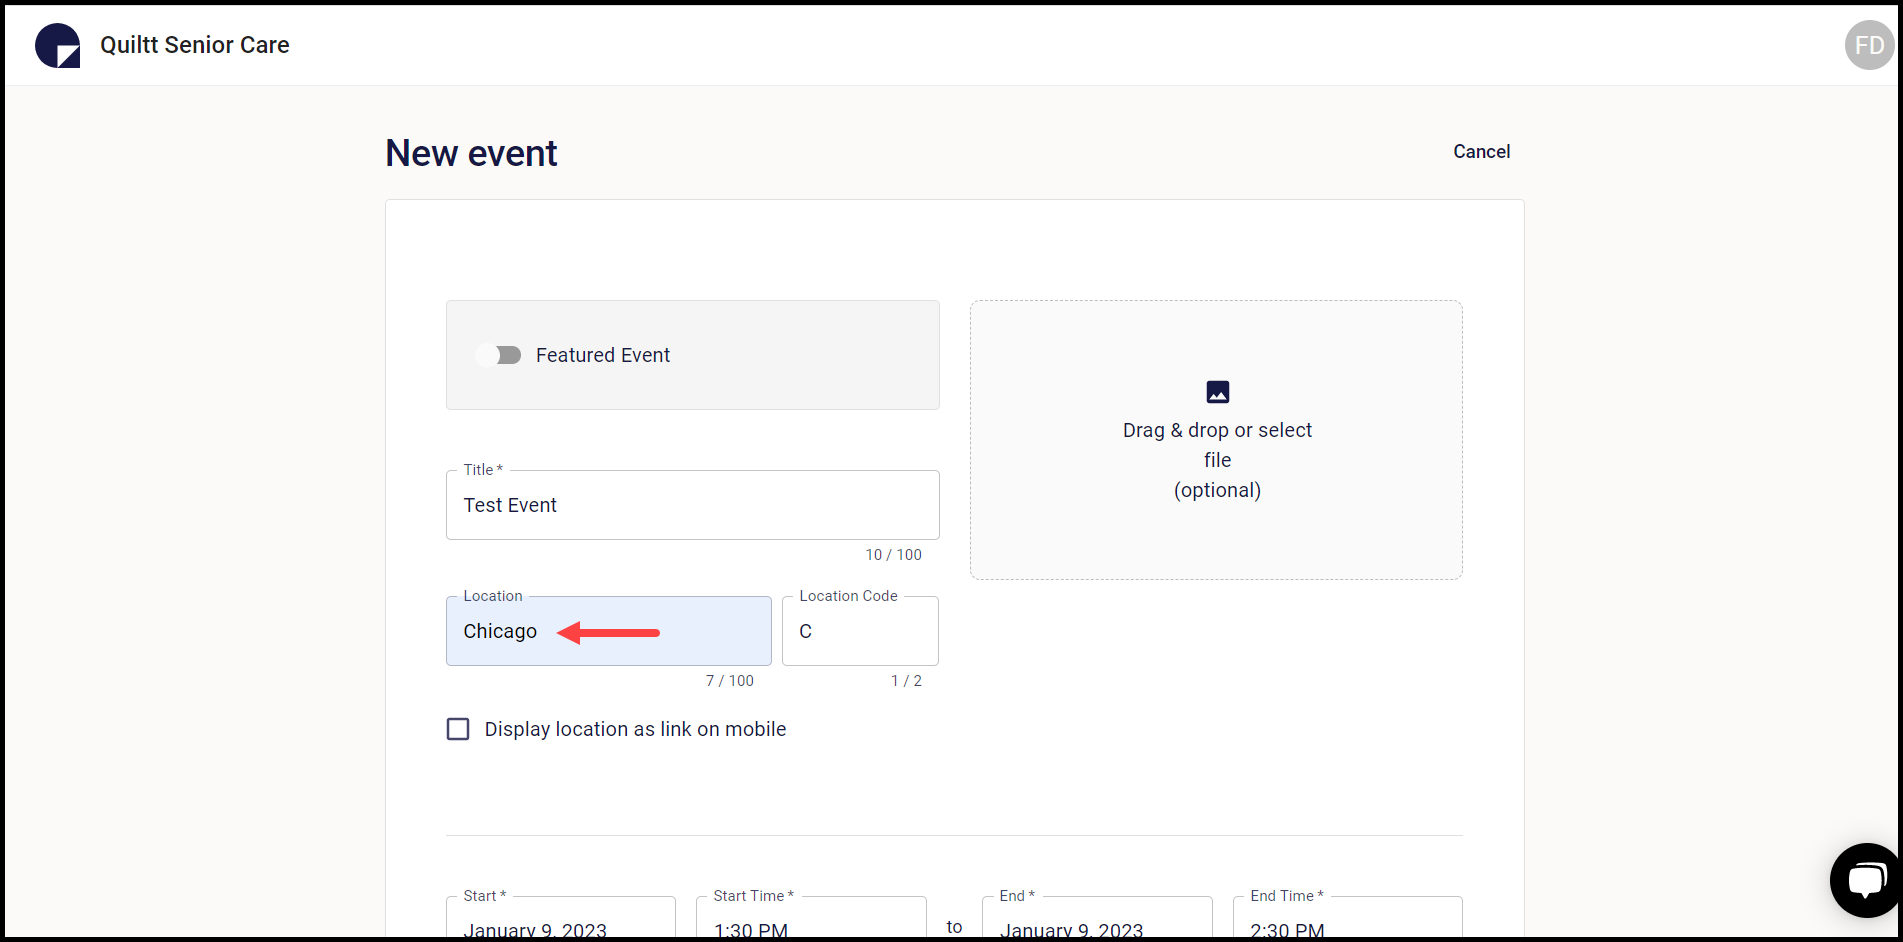
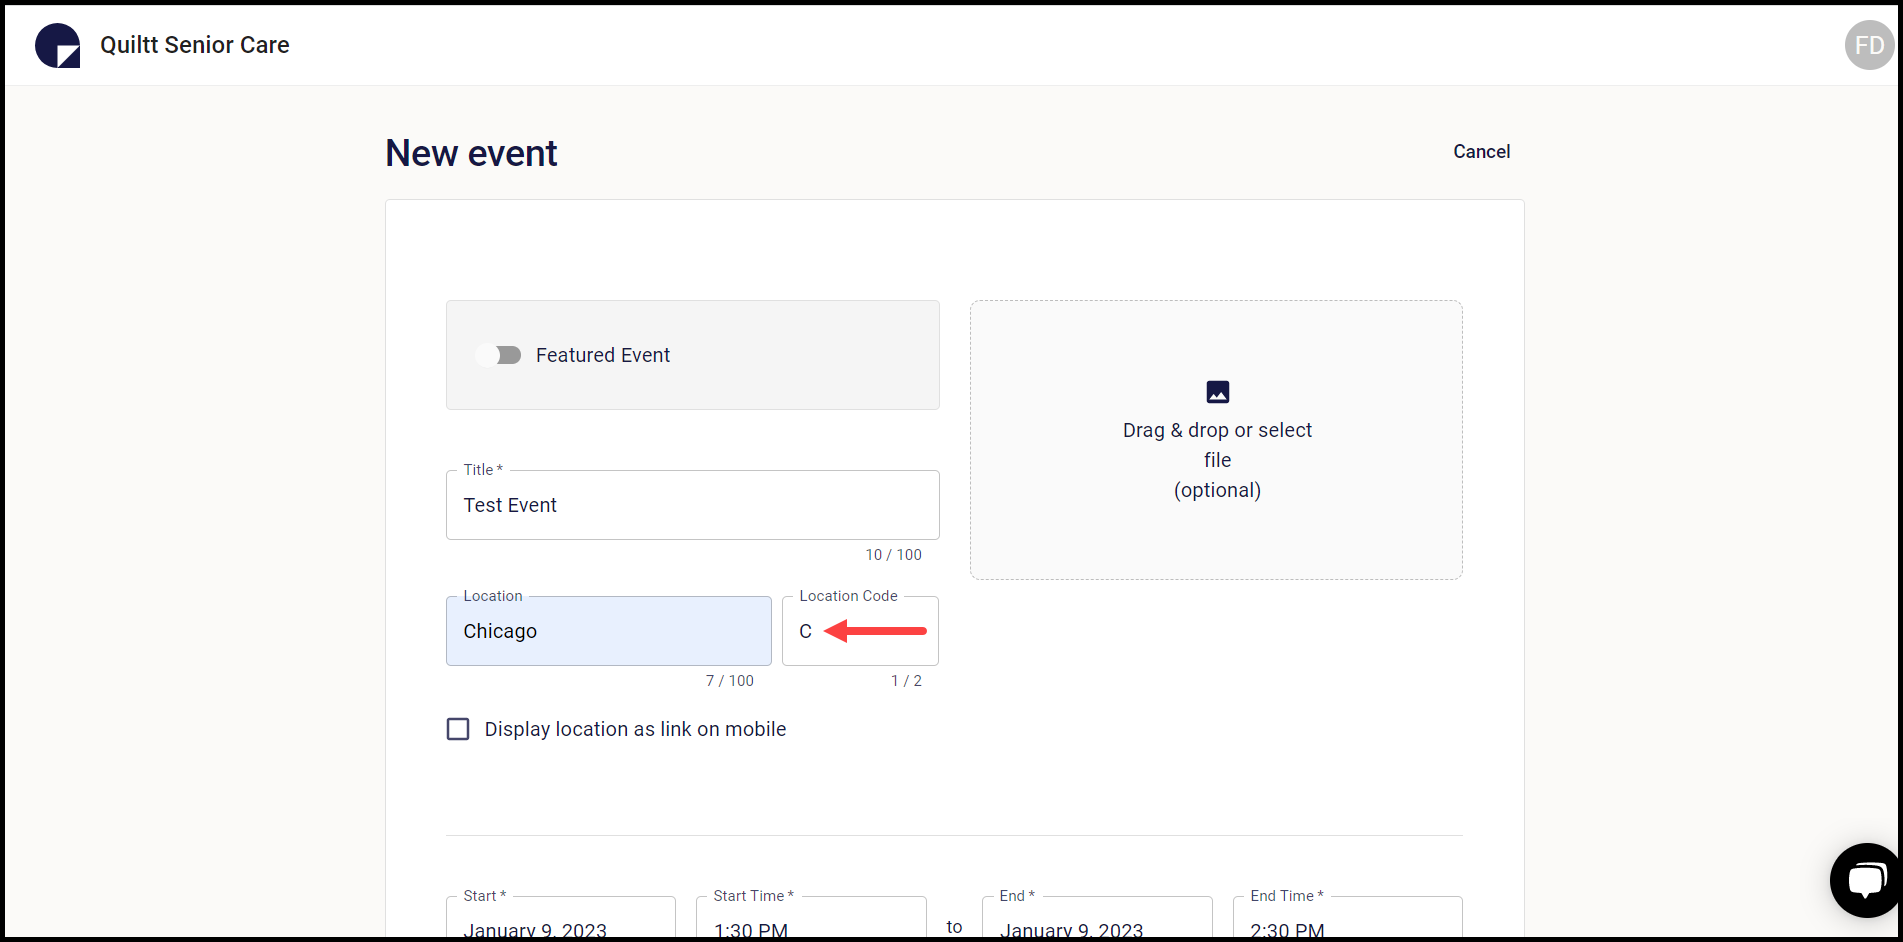
14. As per the name of the entered location, the first letter is auto-populated in the Location Code field. However, the field is editable.
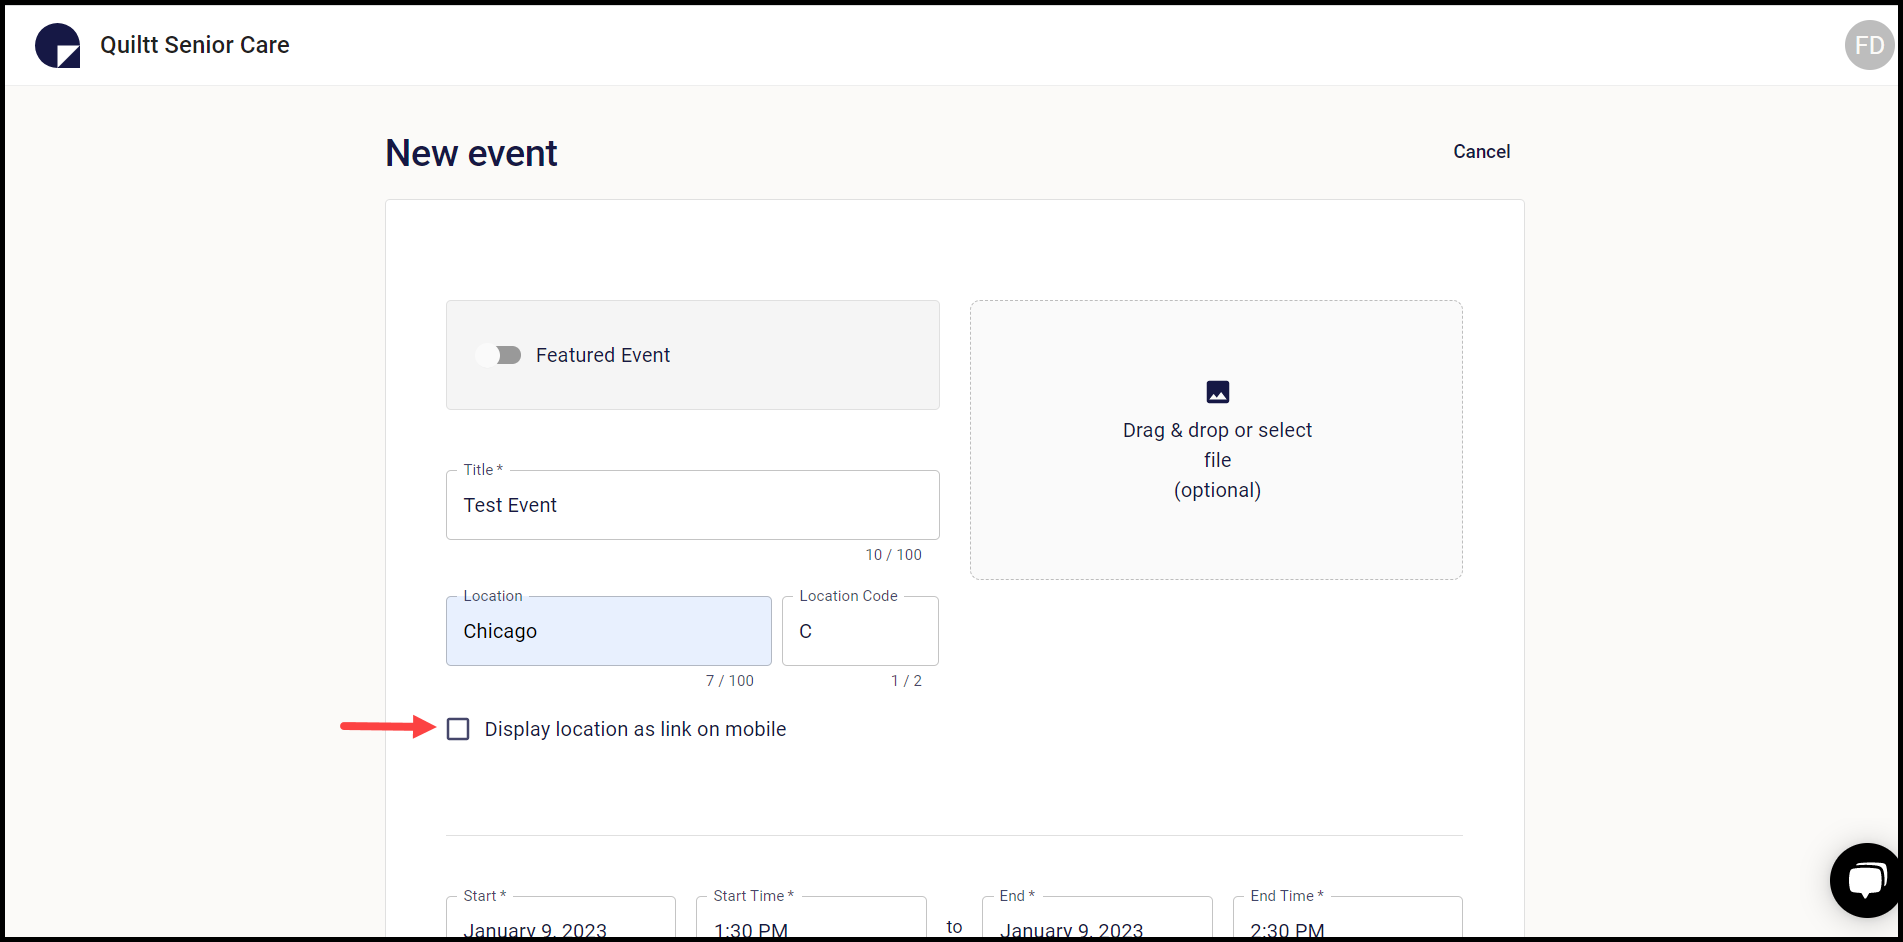
15. If you want the entered location to be displayed as a link on mobile, mark the Display Location as Link on Mobile checkbox.
16. Any files you want to associate for the event can be uploaded by clicking the Drag & Drop or select file section. This opens your system storage so that you can choose the required file.

17. Select the start date for the event using the Start date selector.

18. Select the start time for the event using the Start Time clock.
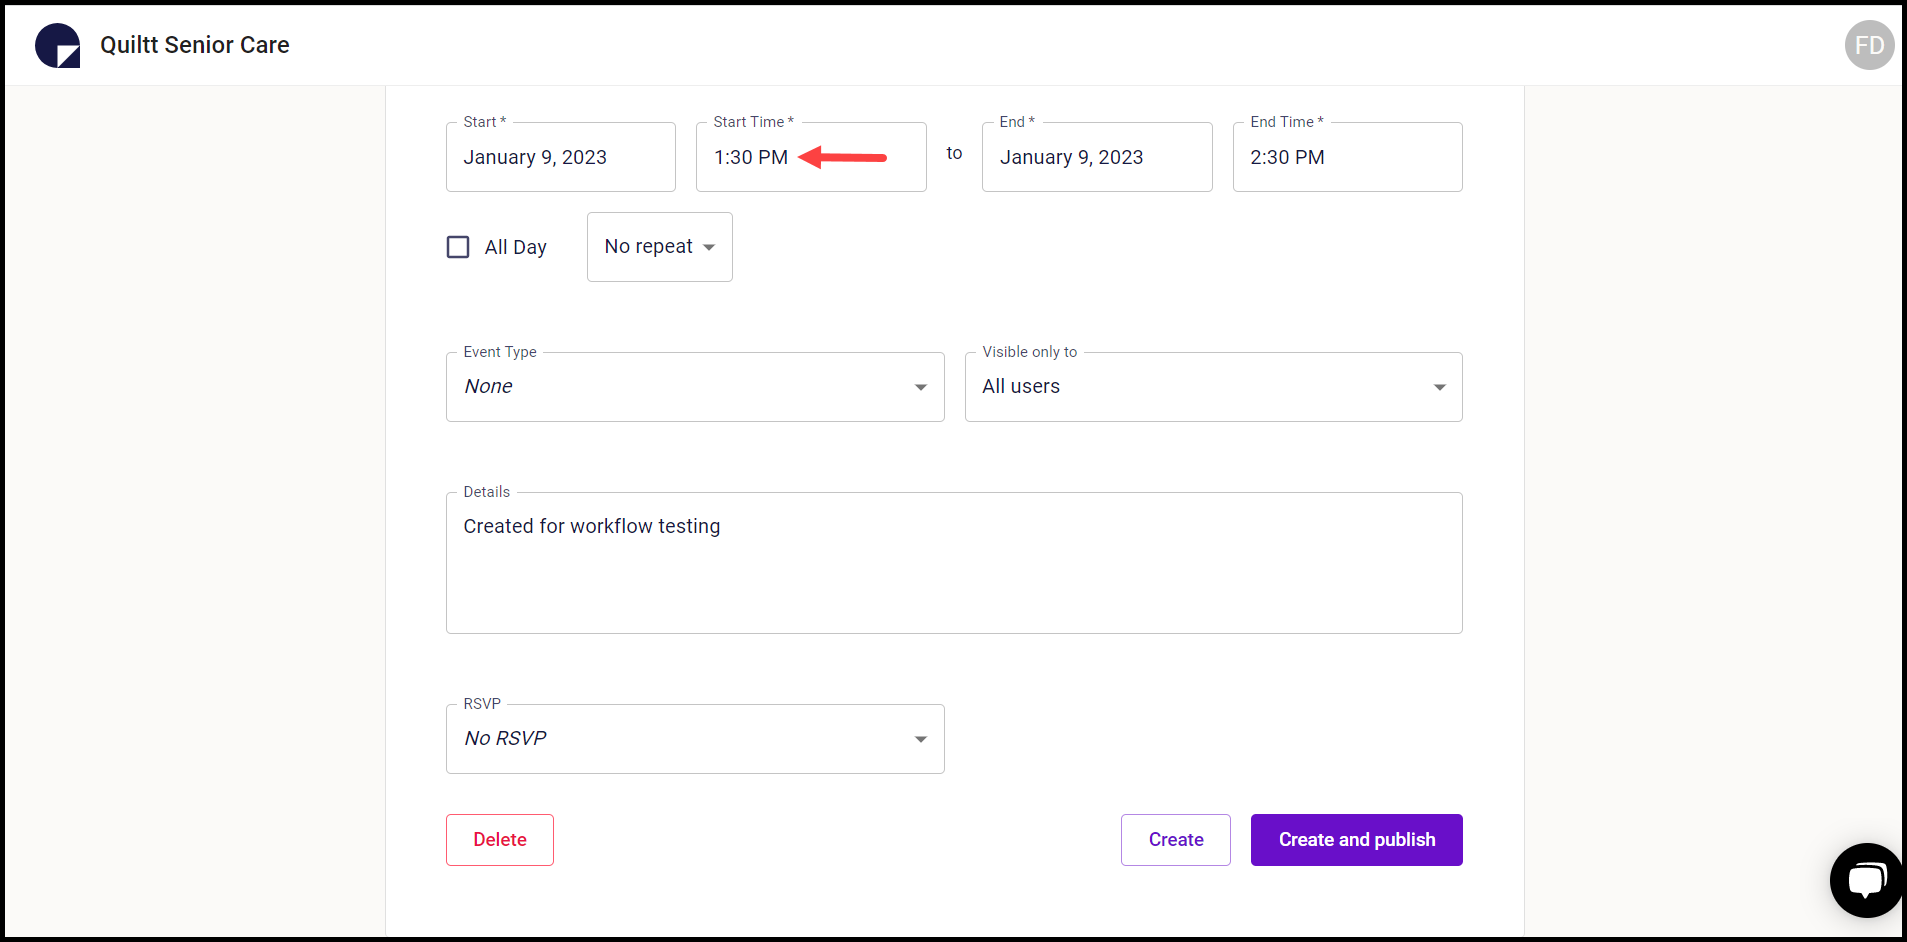
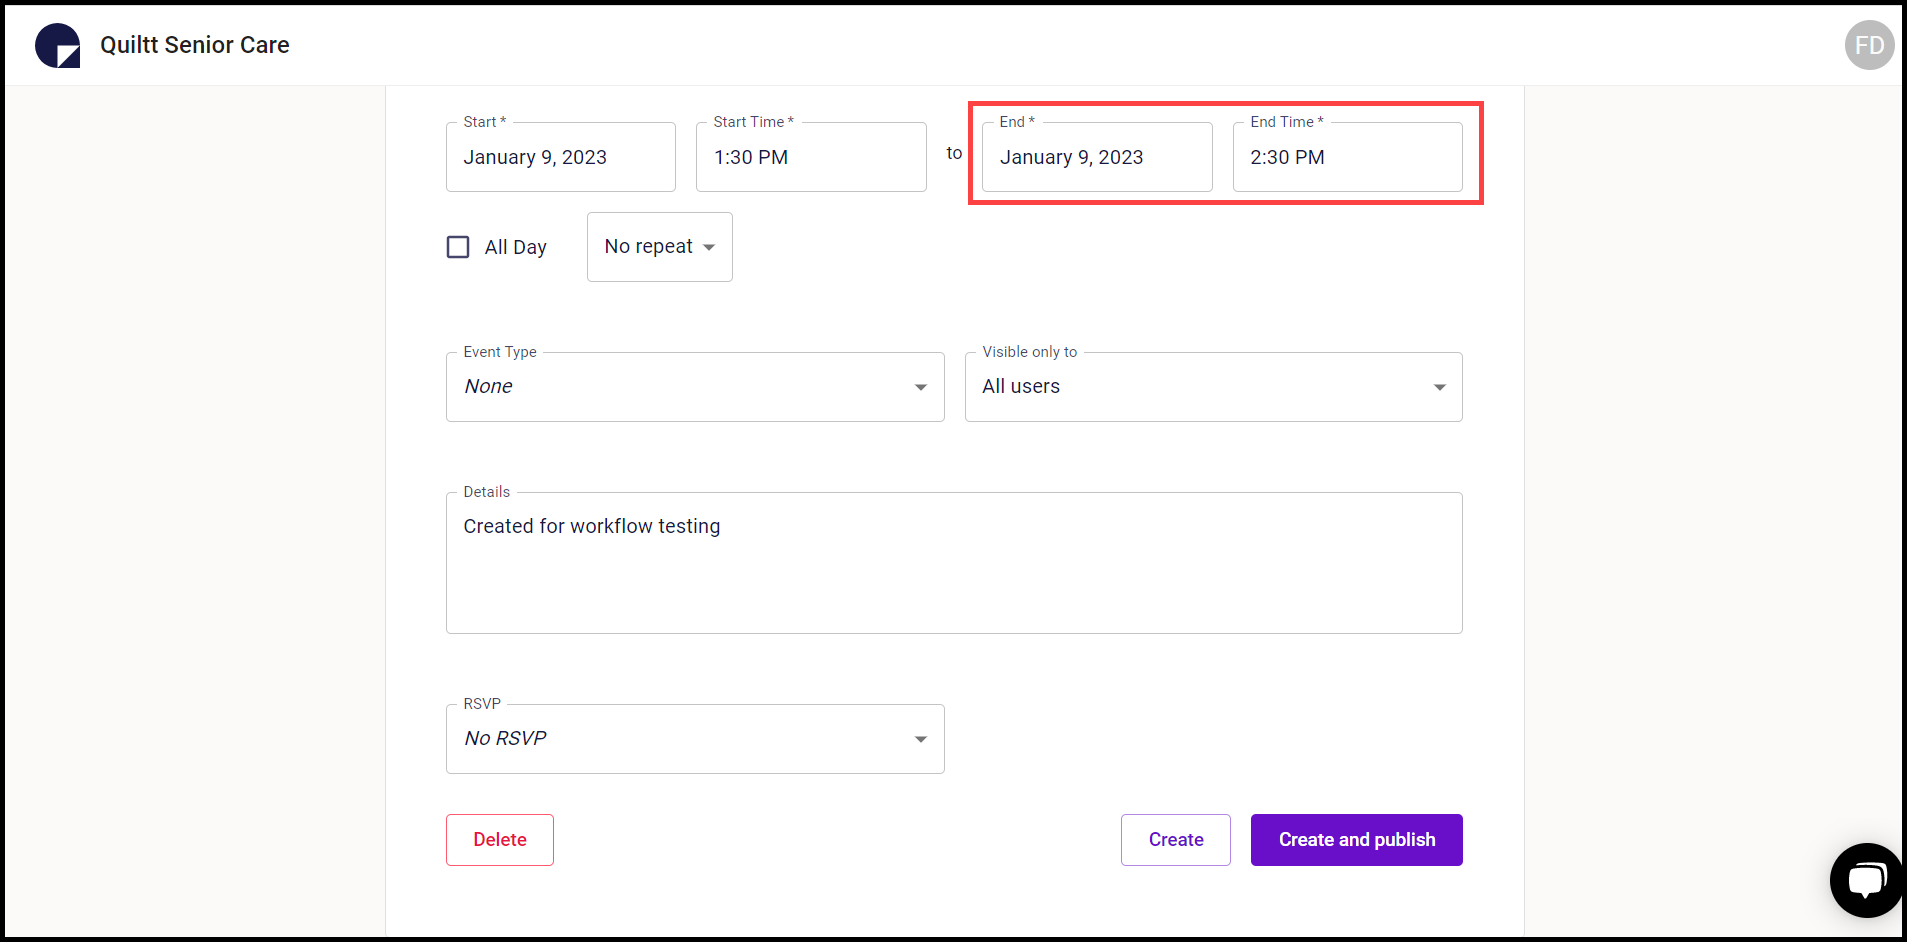
19. The end date and time can be defined in a similar manner by using the End date selector and End Time clock.
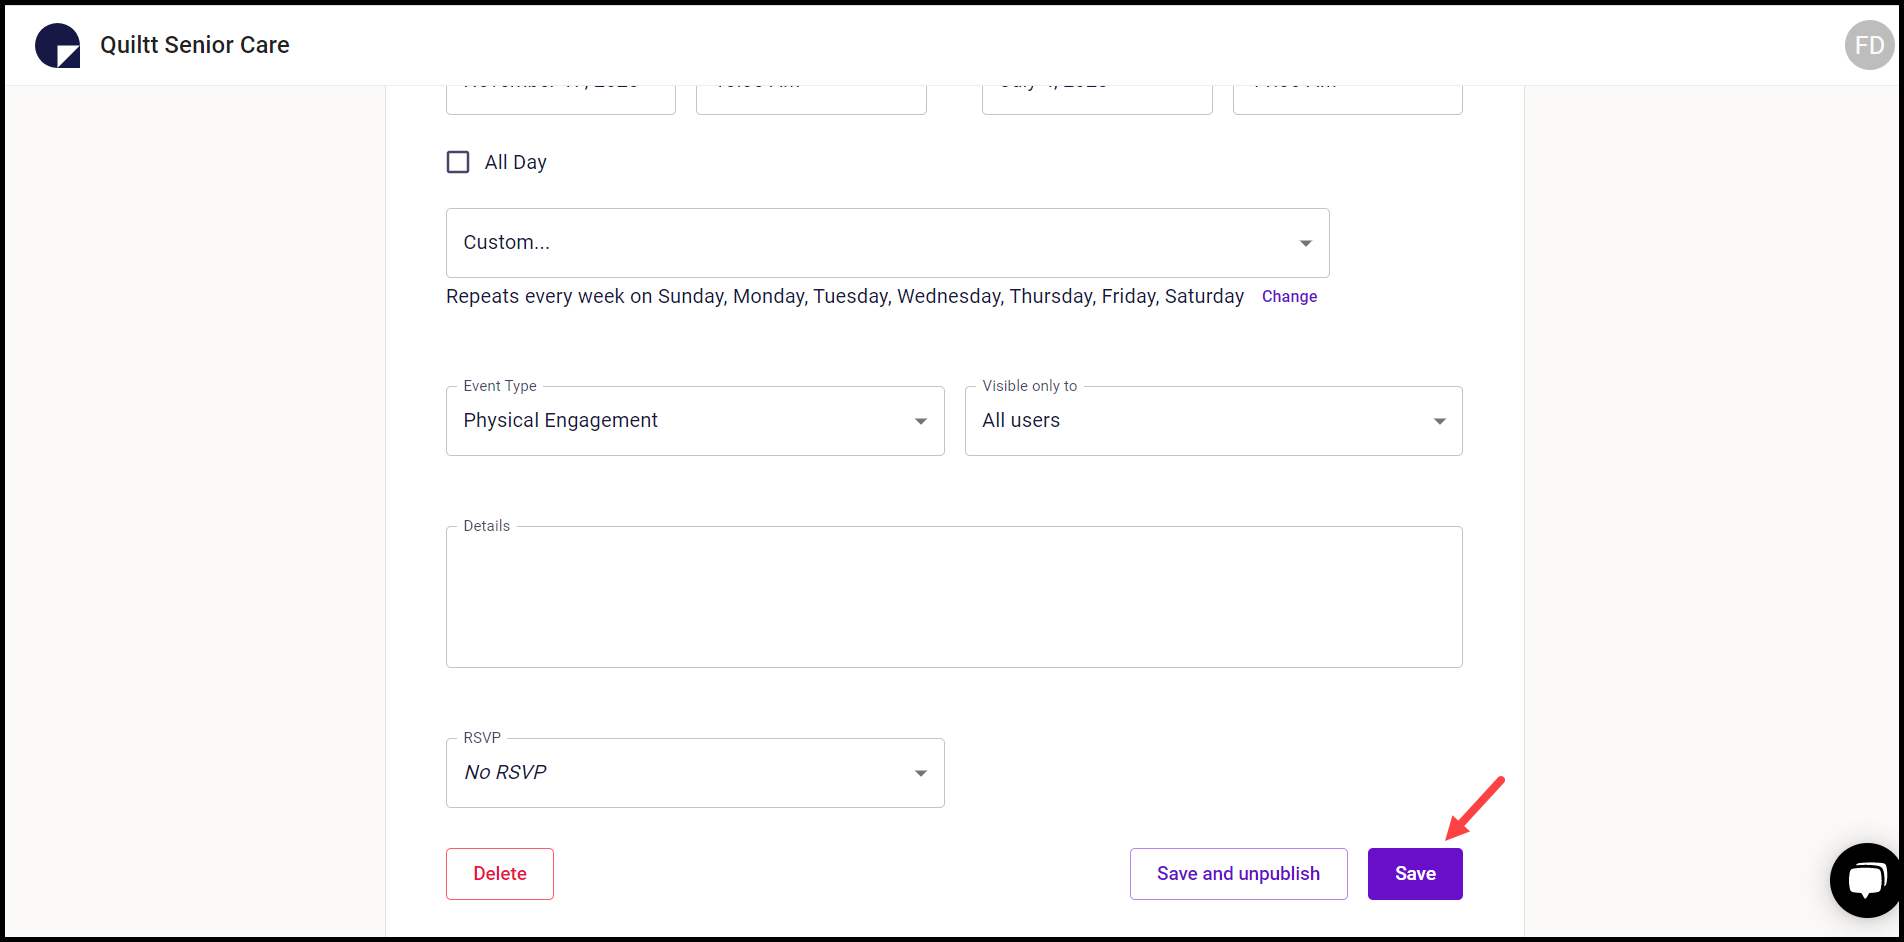
20. If this is an all-day event, mark the All Day checkbox.
21. Set the repeat frequency of the event using the No Repeat dropdown.
22. Use the Event Type dropdown to select the type of event.
23. Choose who will the event be visible to using the Visible Only To dropdown.
24. Enter any relevant details of the event in the Details text box.
25. If any special participants are required, make the relevant selection from the RSVP dropdown.
26. This reveals additional two fields named as Maximum Capacity and Maximum Number in Party that you can use to set the required number.
27. To create the event, click the Create button.
28. If you also want the event to be published upon creation, click the Create and publish button.

29. In case you want to delete the event, click the Delete button.
30. Once created, the event appears on the calendar on the selected date tile.