How to Add a Reservation?
Instructions for how to add a reservation in the Quiltt admin portal.
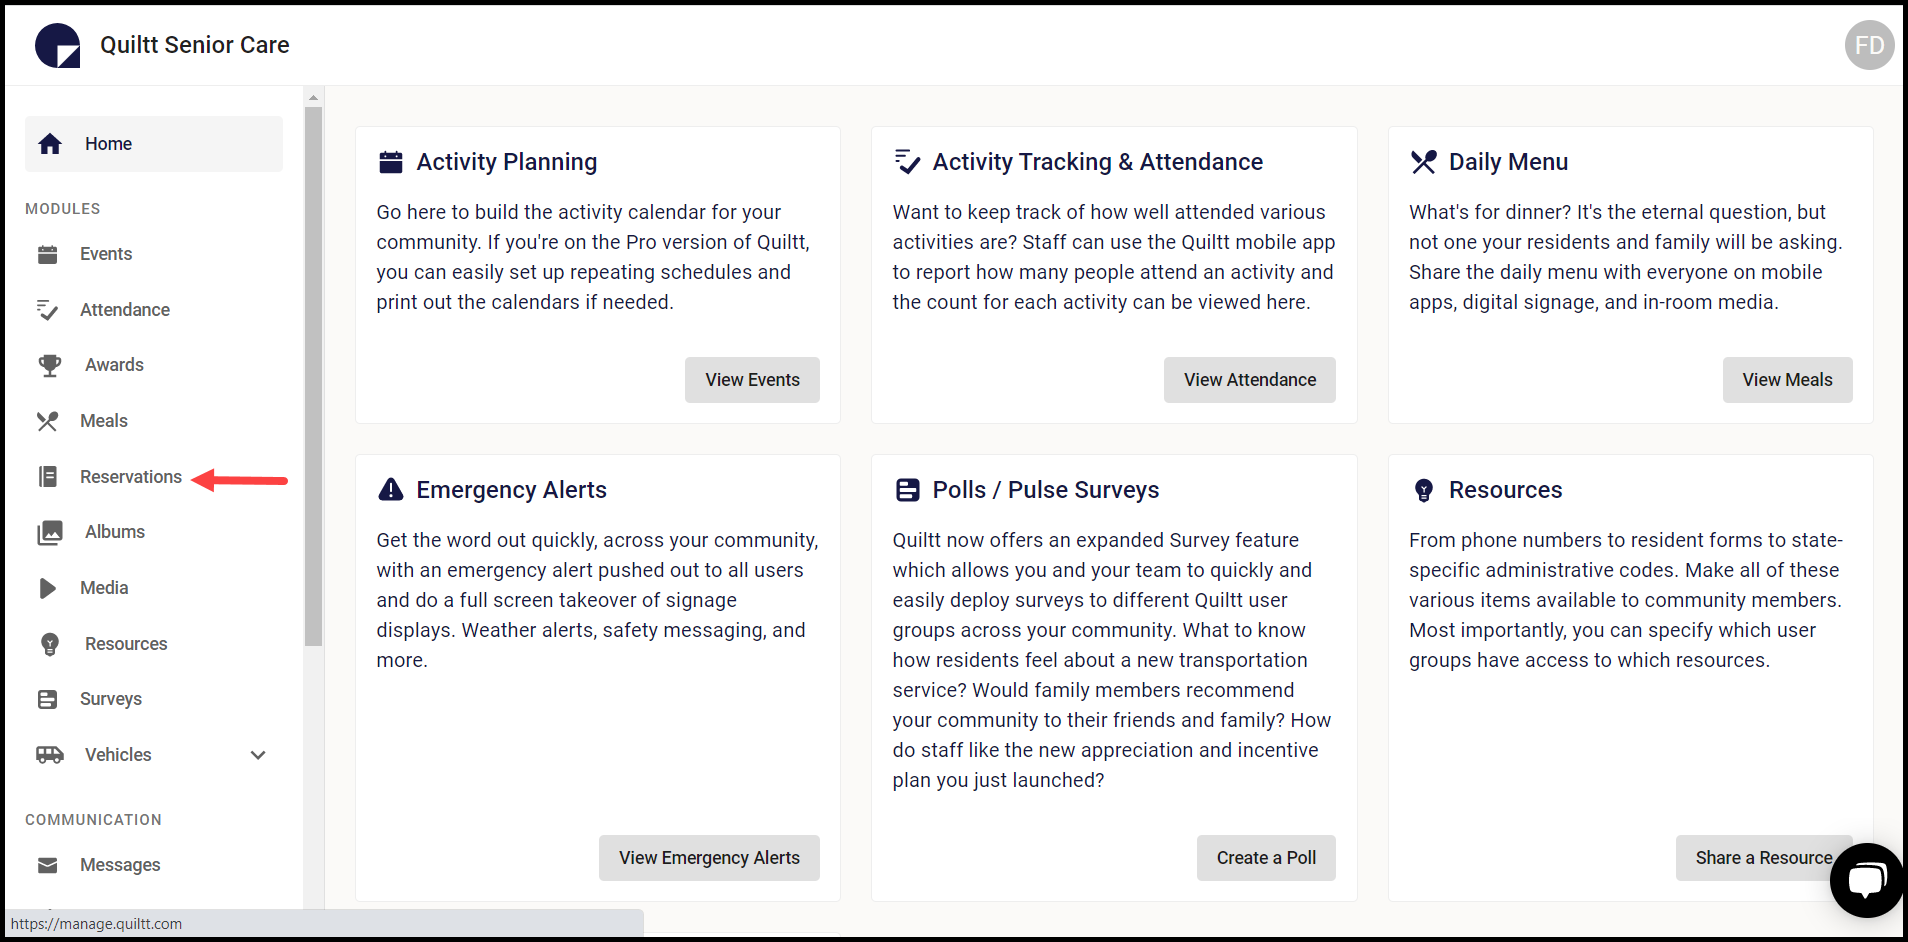
1. Upon successful login, navigate to the left-hand menu.
2. From the list of options available, click Reservations. Doing so takes you to the Reservations screen.
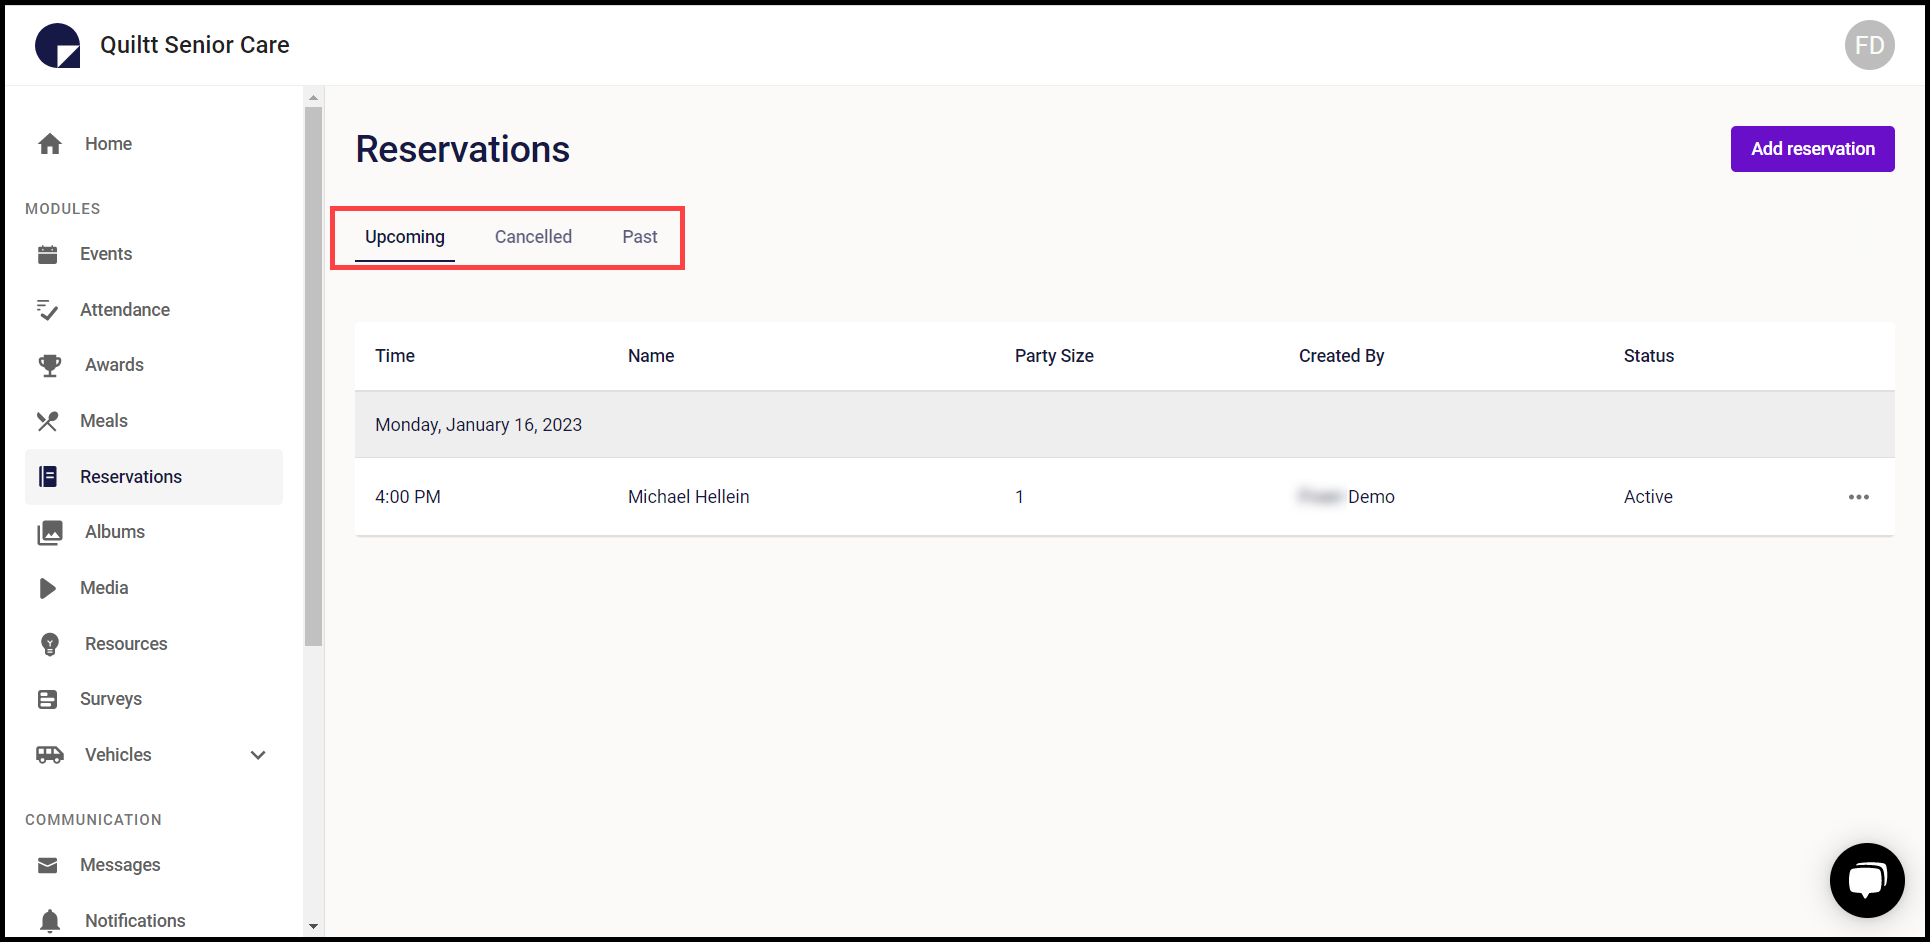
3. Here, all reservations are categorized into Upcoming, Cancelled, and Past. By default, the Upcoming reservations are displayed.
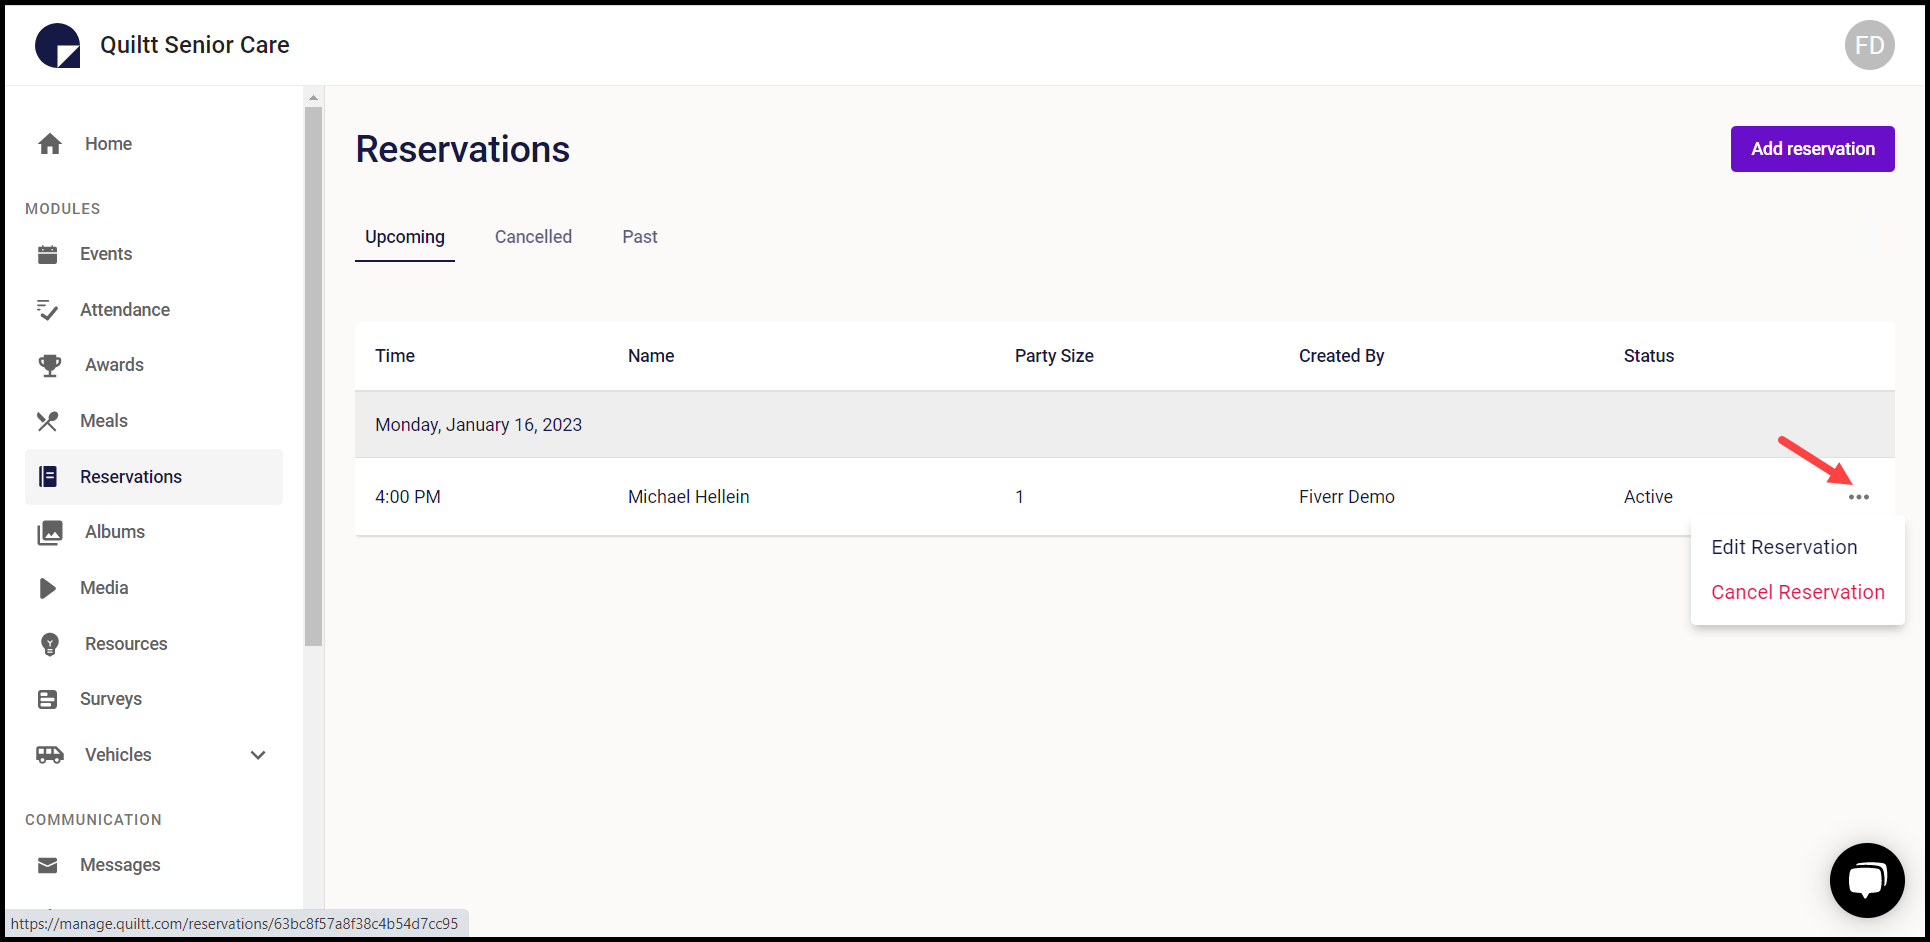
4. Each reservation is tabulated via several columns that include Time, Name, Party Size, Created By, and Status.
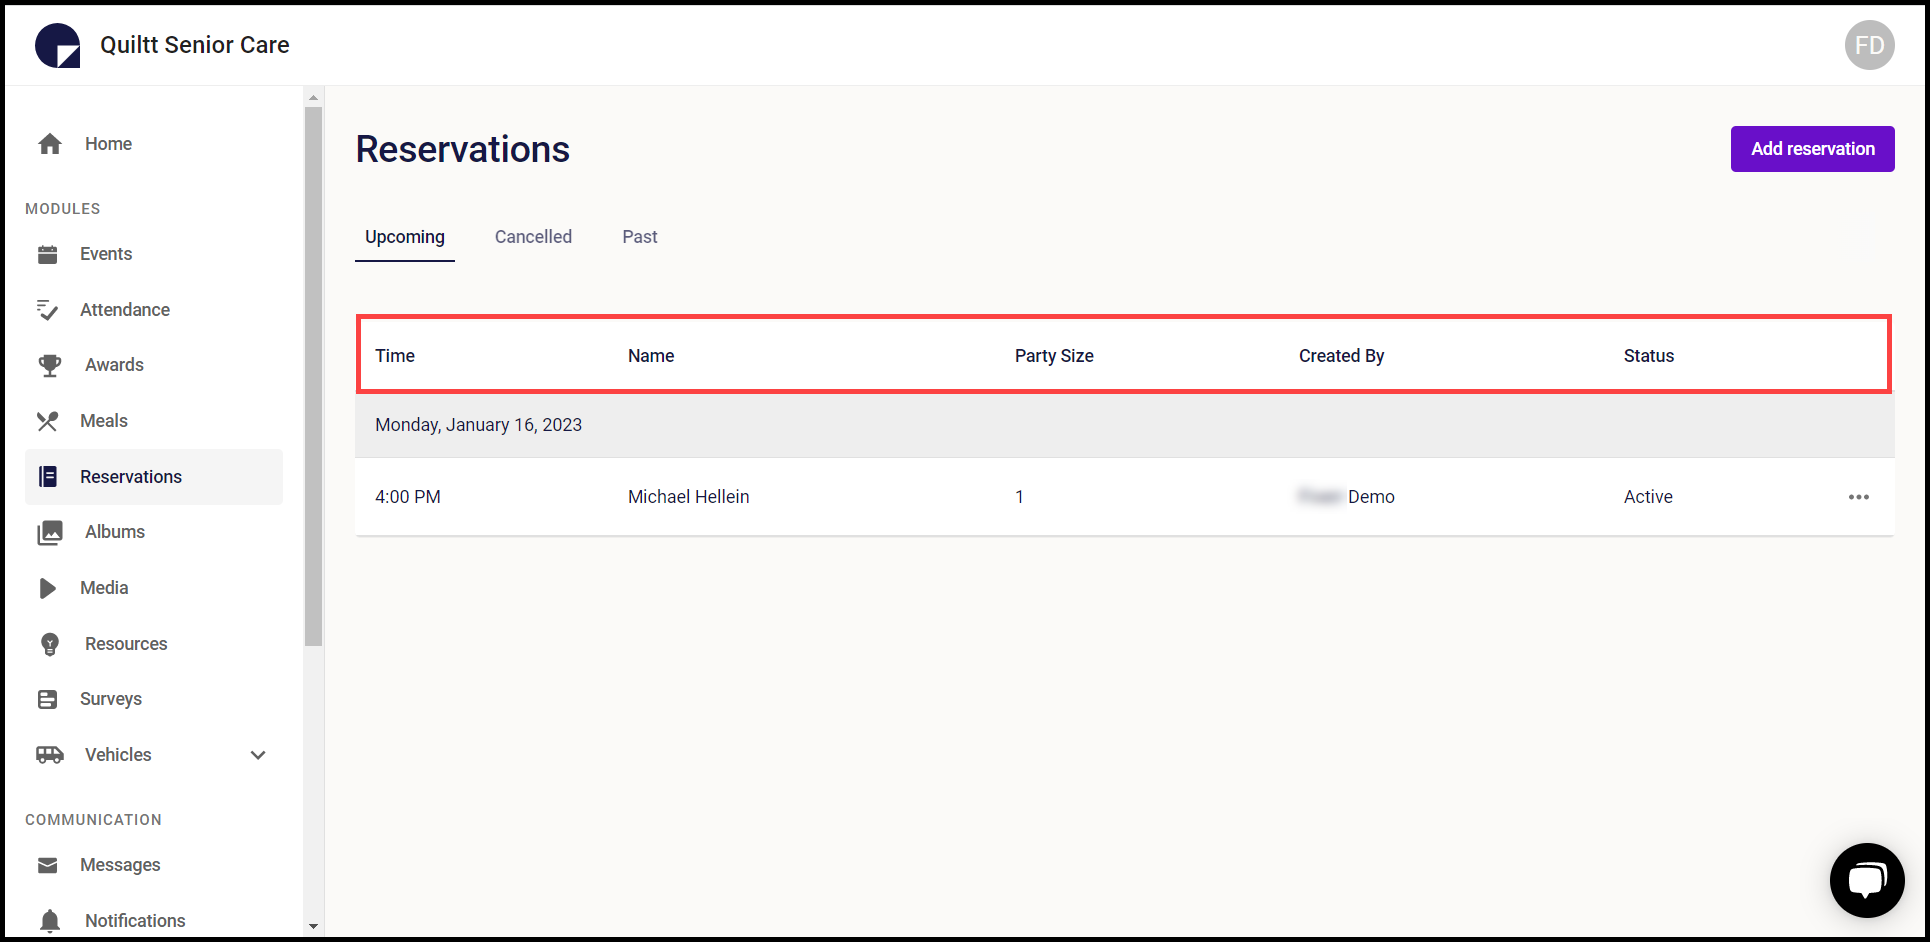
5. Clicking the three-dot icon from the end of the row reveals a further list of options that include Edit Reservation and Cancel Reservation.
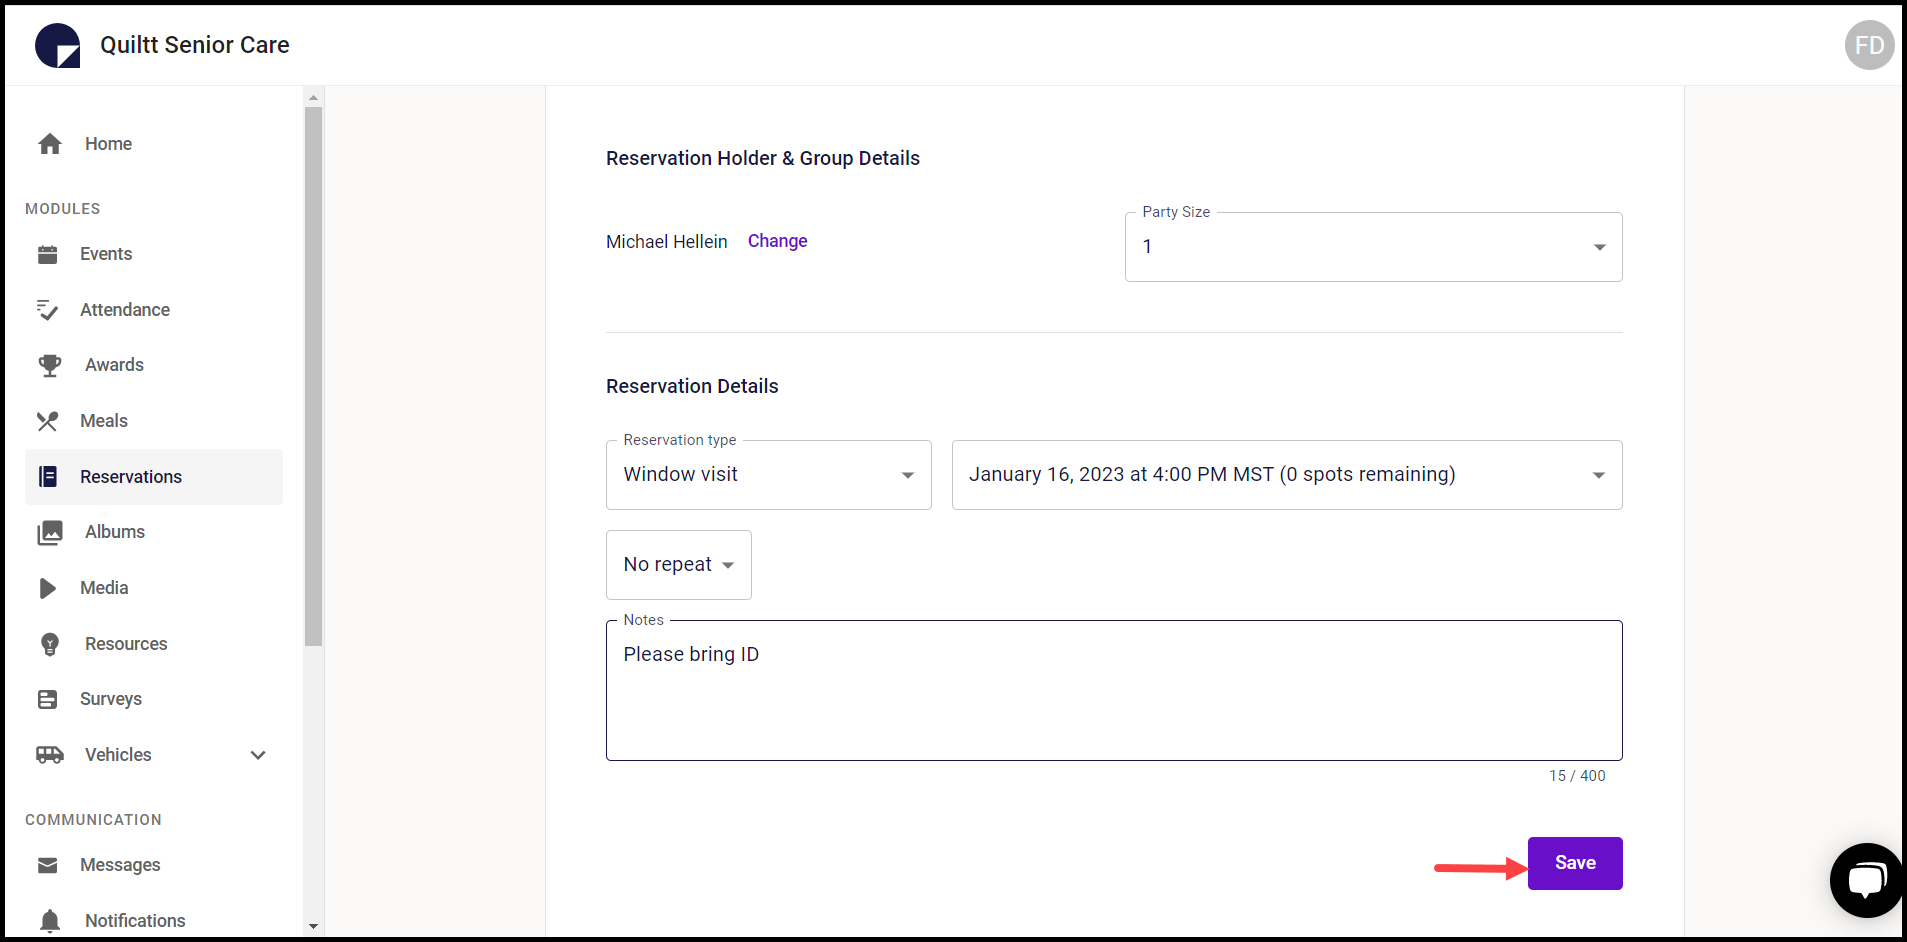
6. Clicking Edit Reservation opens the selected reservation in editable view.
7. Once the required changes are made, click the Save button.
8. Clicking Cancel Reservation moves the selected reservation to the Cancelled section.

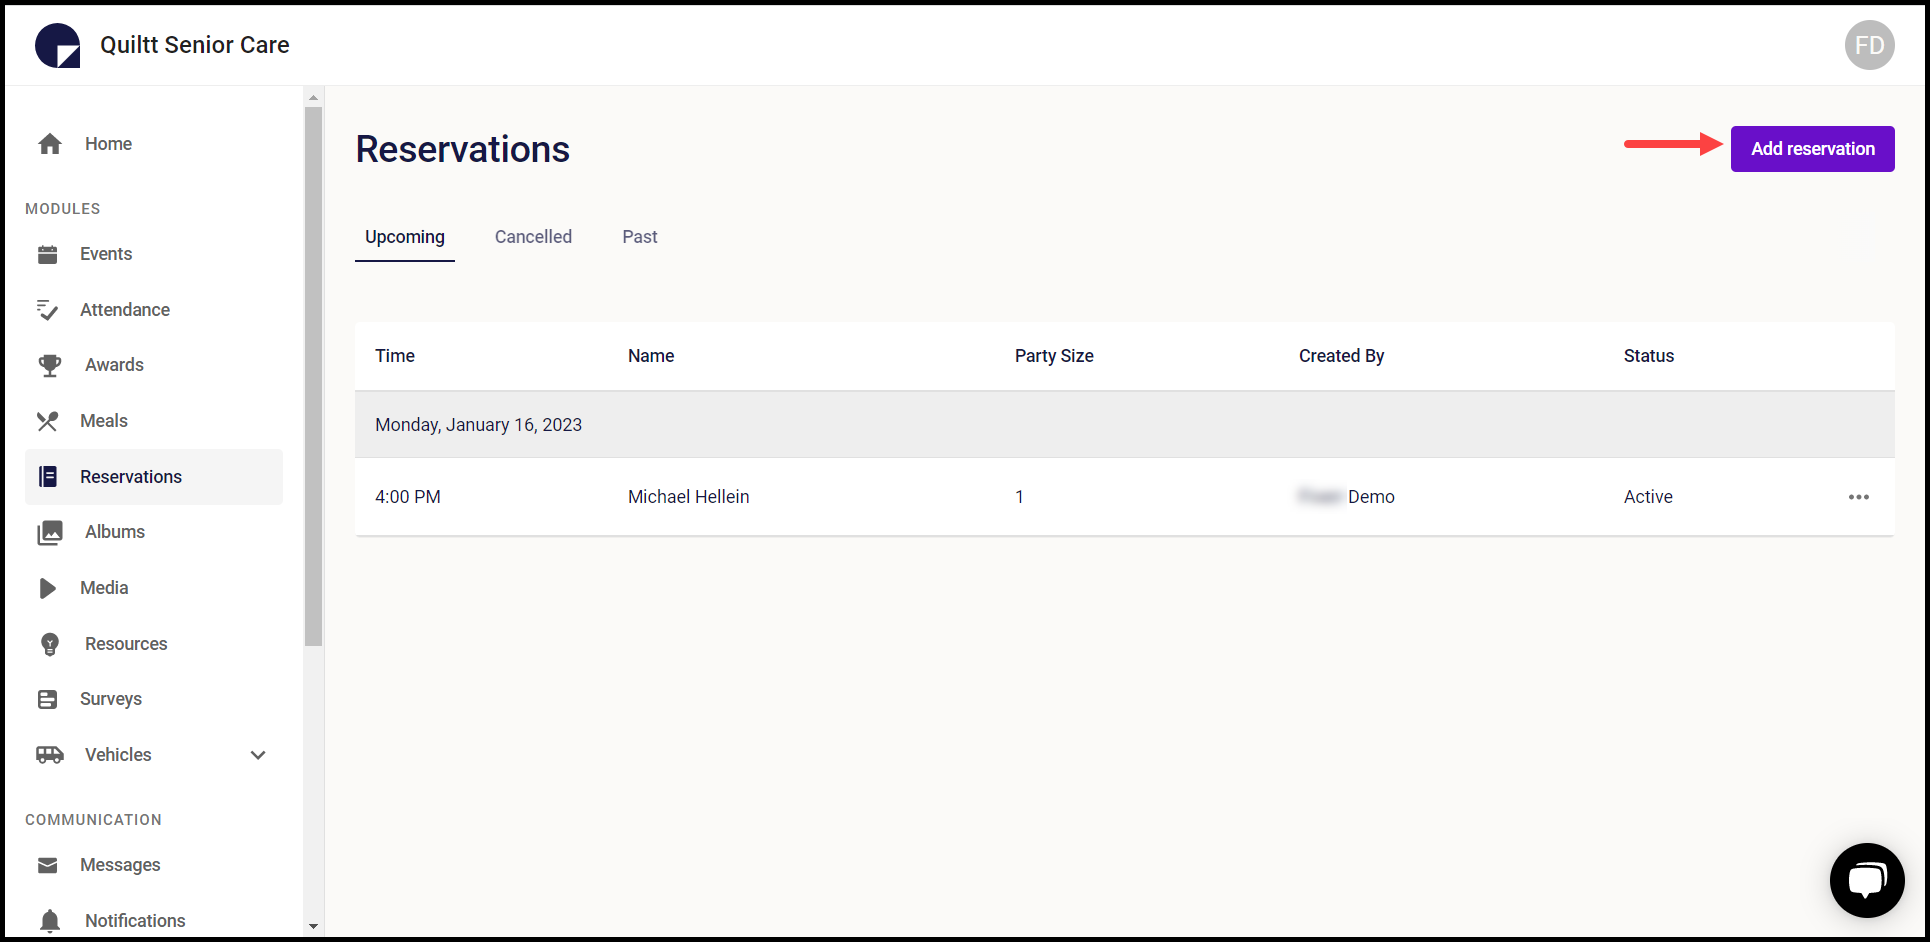
9. To add a reservation, click the Add Reservation button. Doing so opens the New Reservation screen.
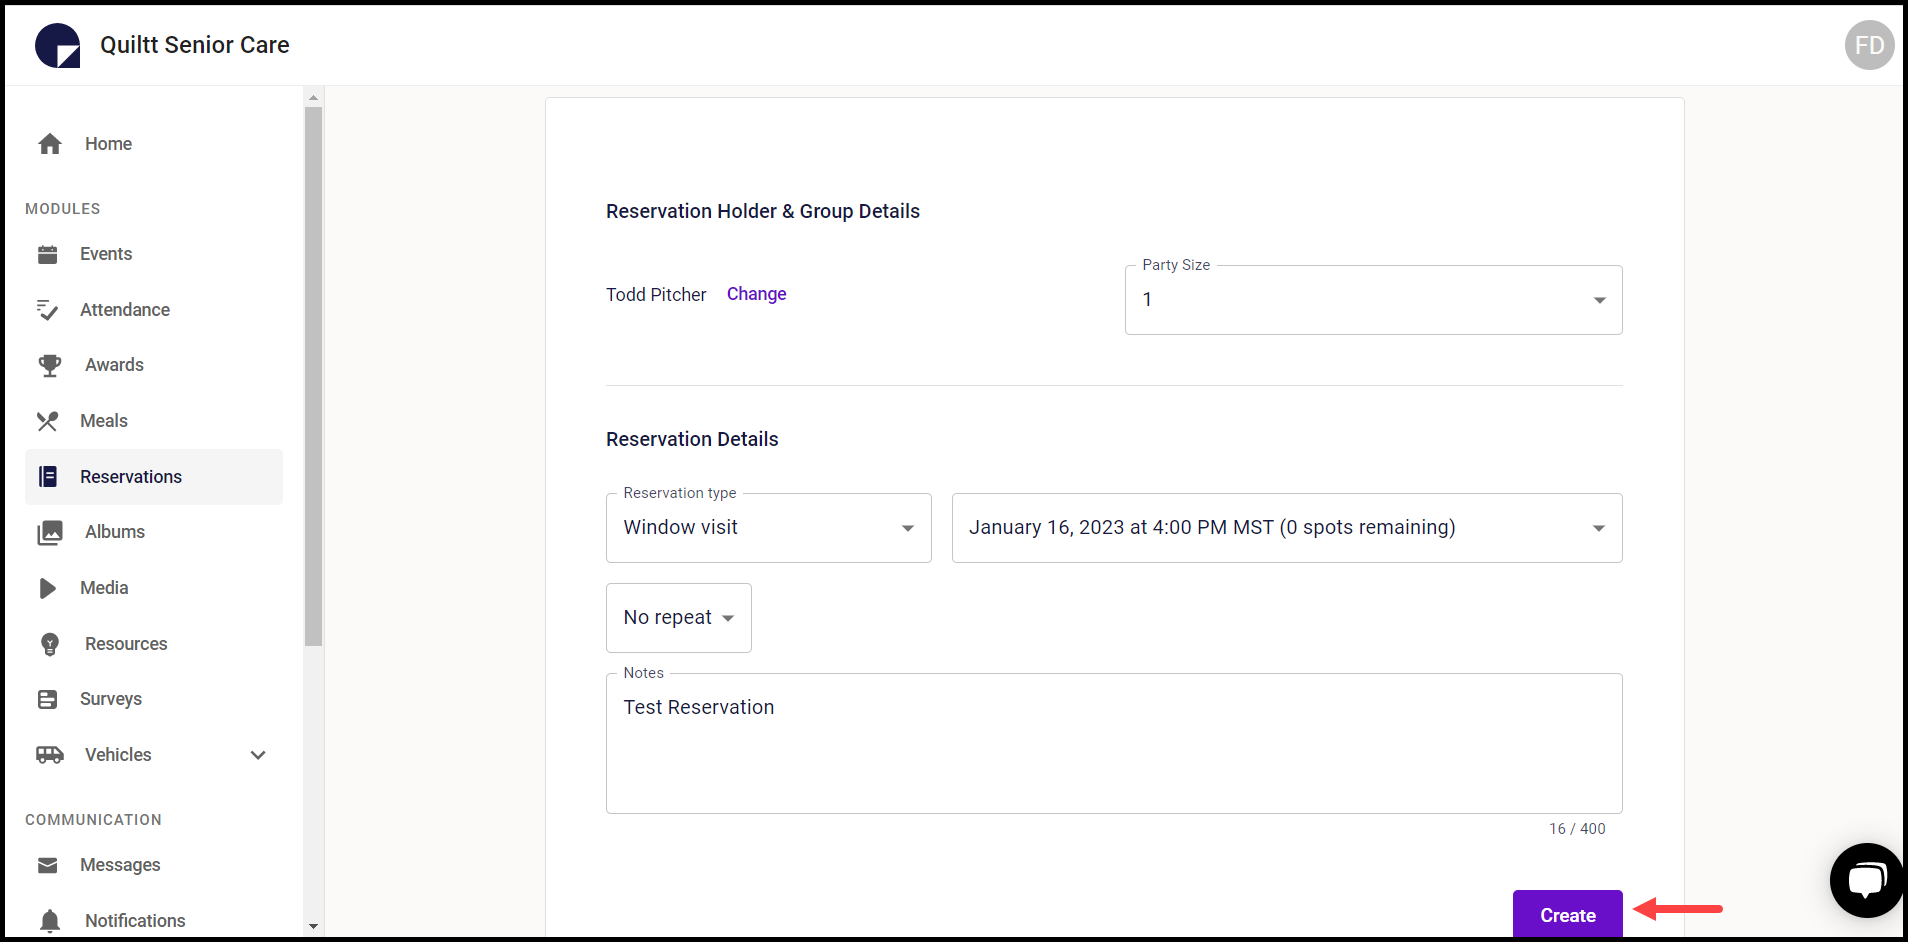
10. Clicking the Select Reservation Holder button opens the members list from where you can select the reservation holder.
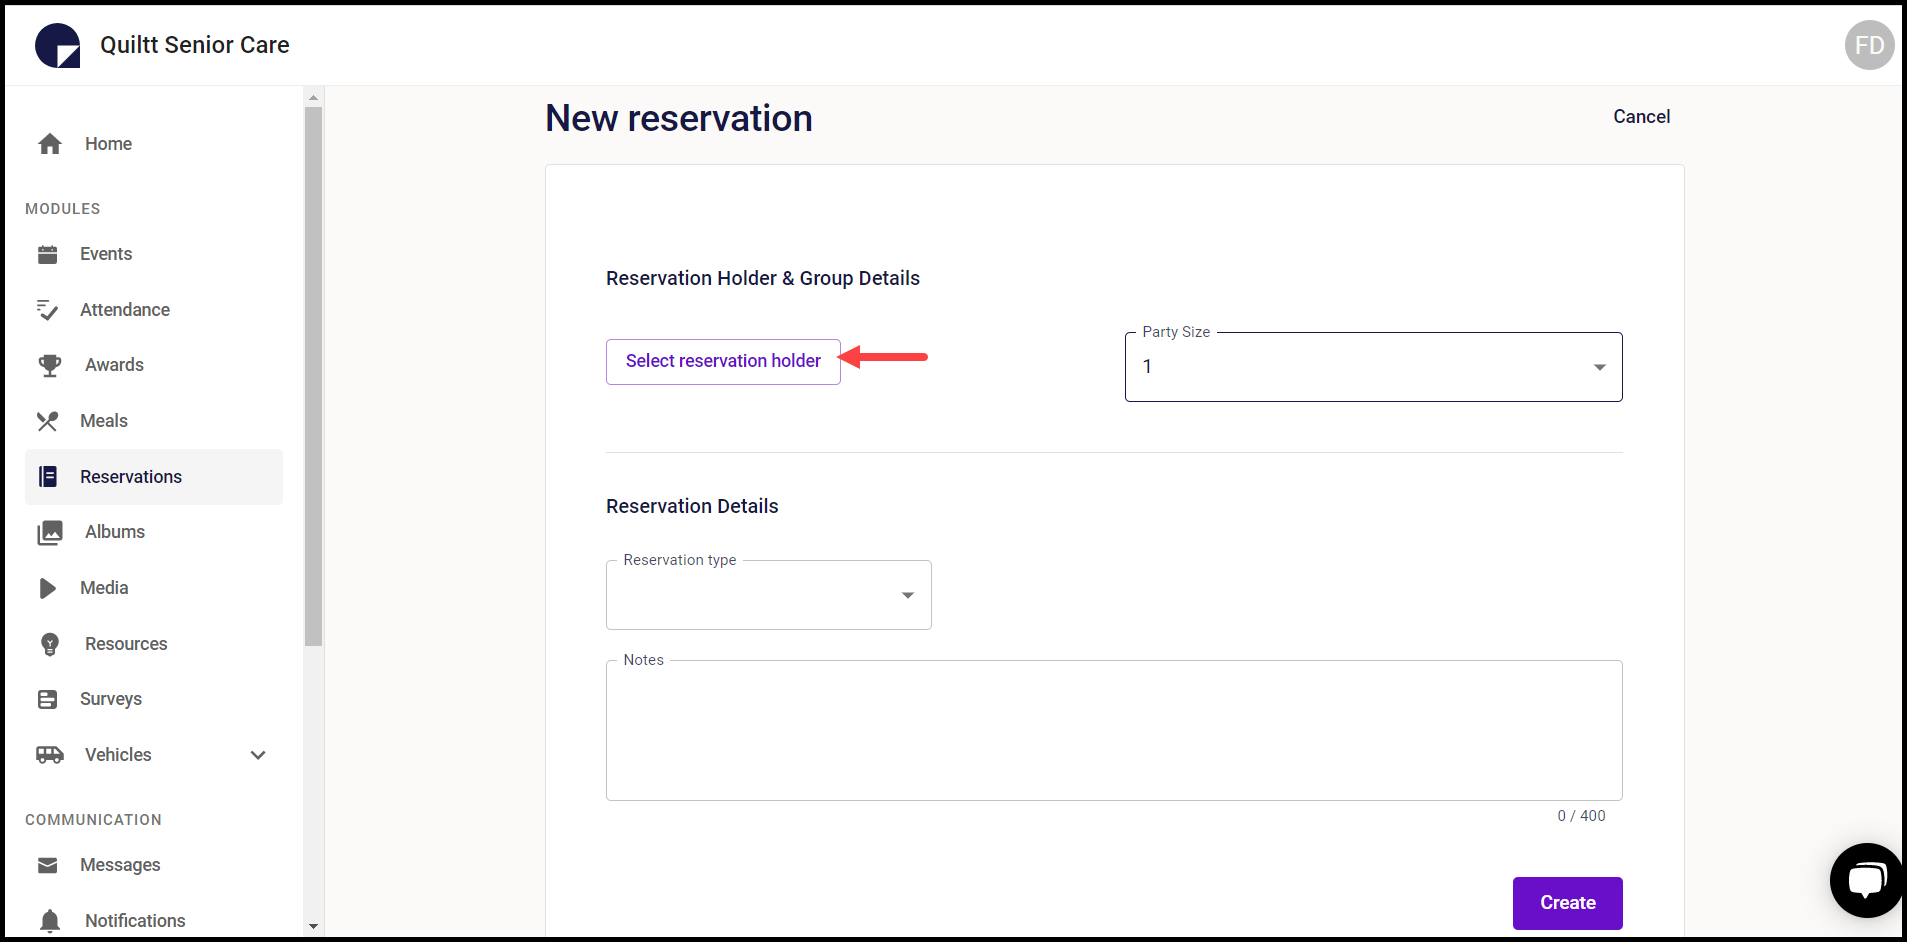

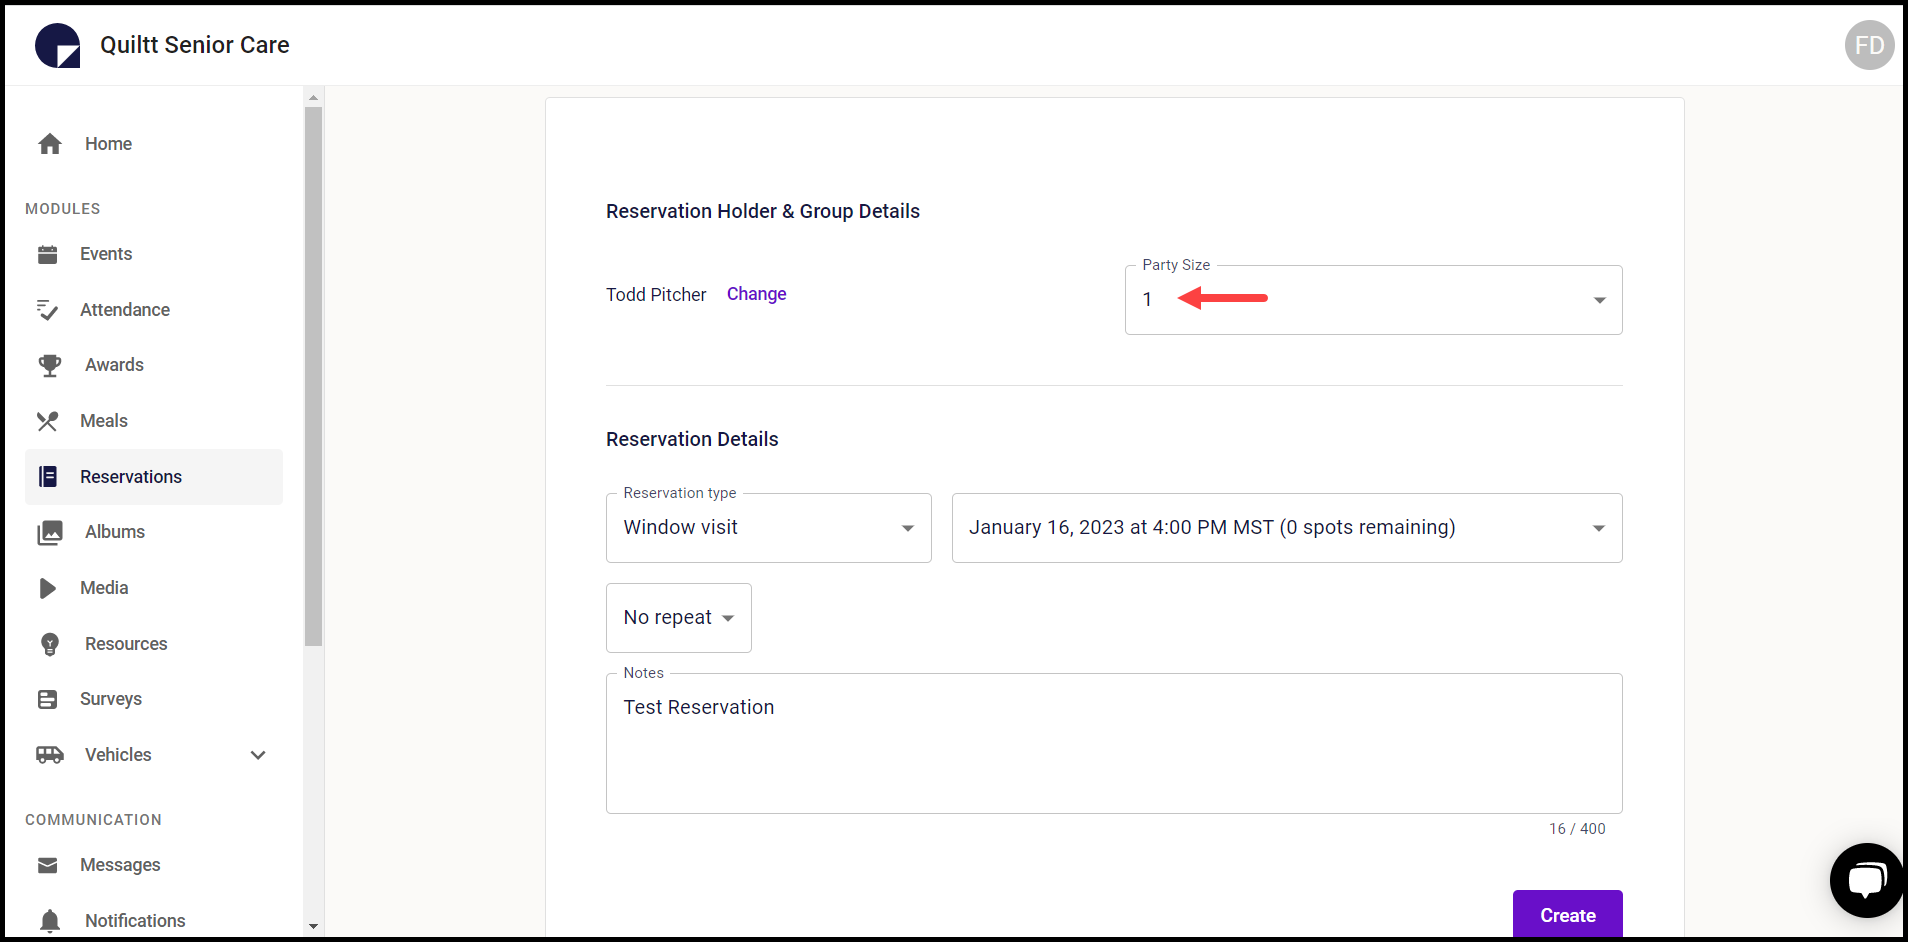
11. Select the size of the party using the Party Size dropdown.
12. Select the type of reservation using the Reservation Type dropdown.

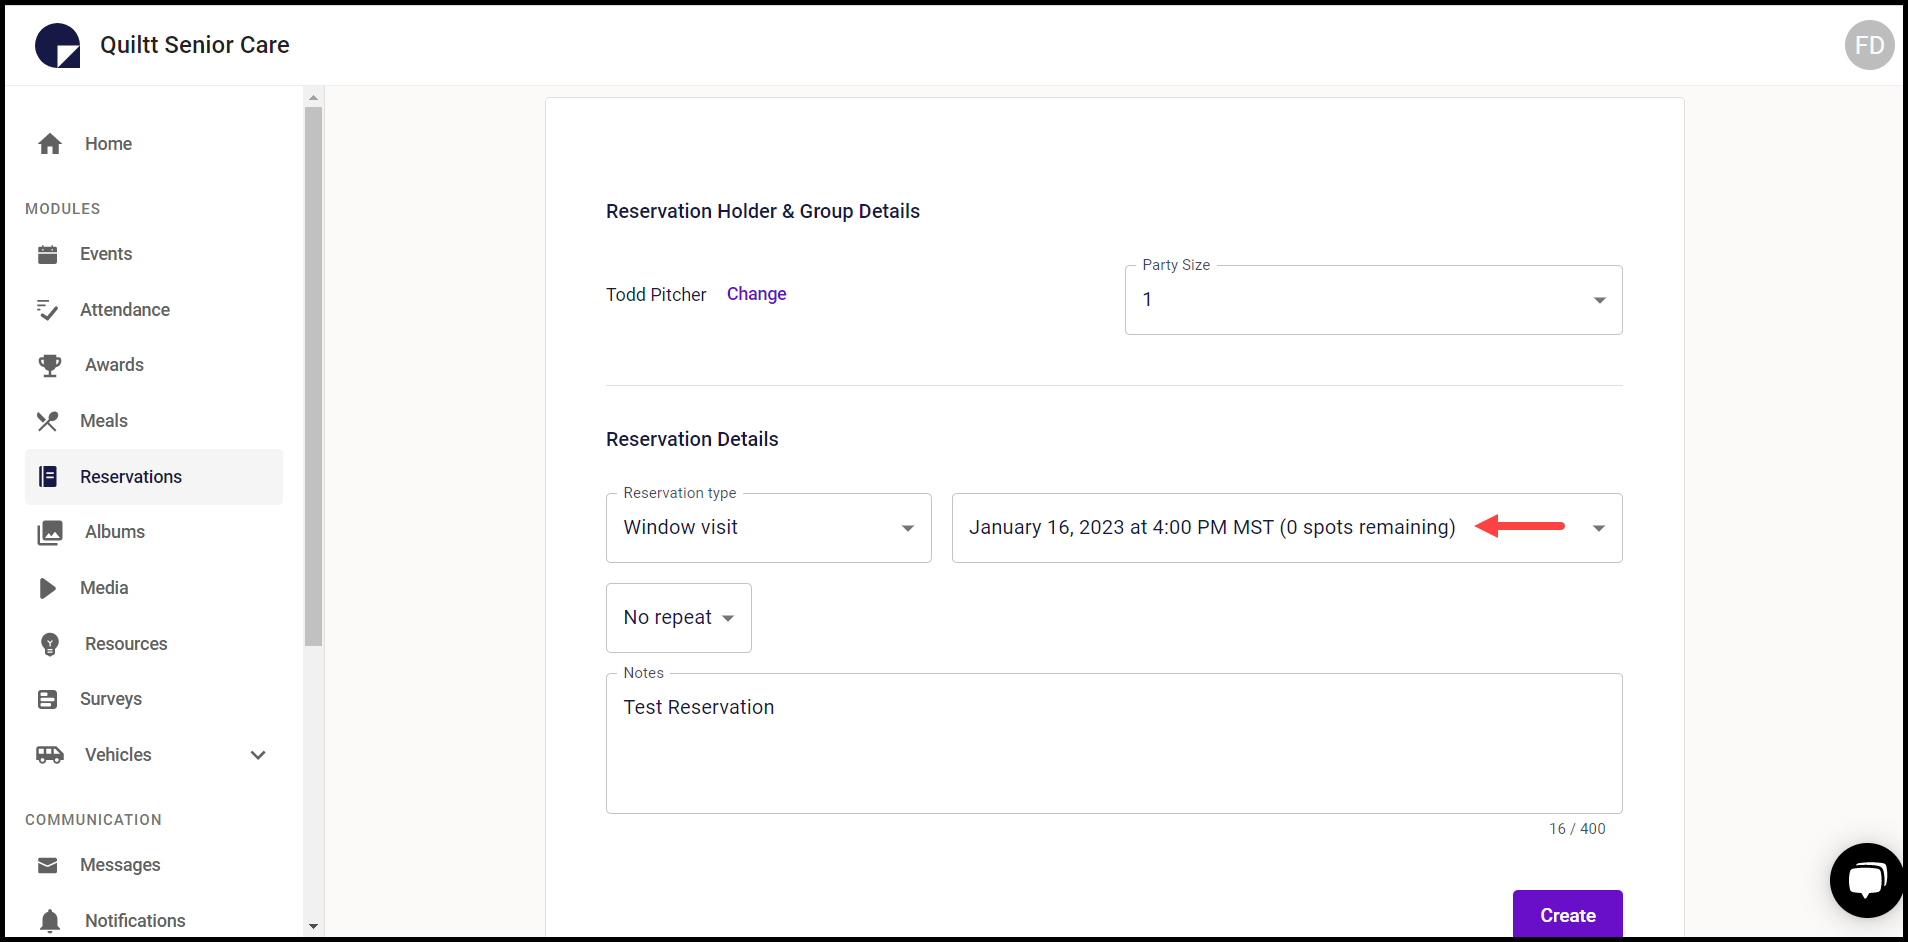
13. Select the start date and time for the reservation using the Start date/time selector.
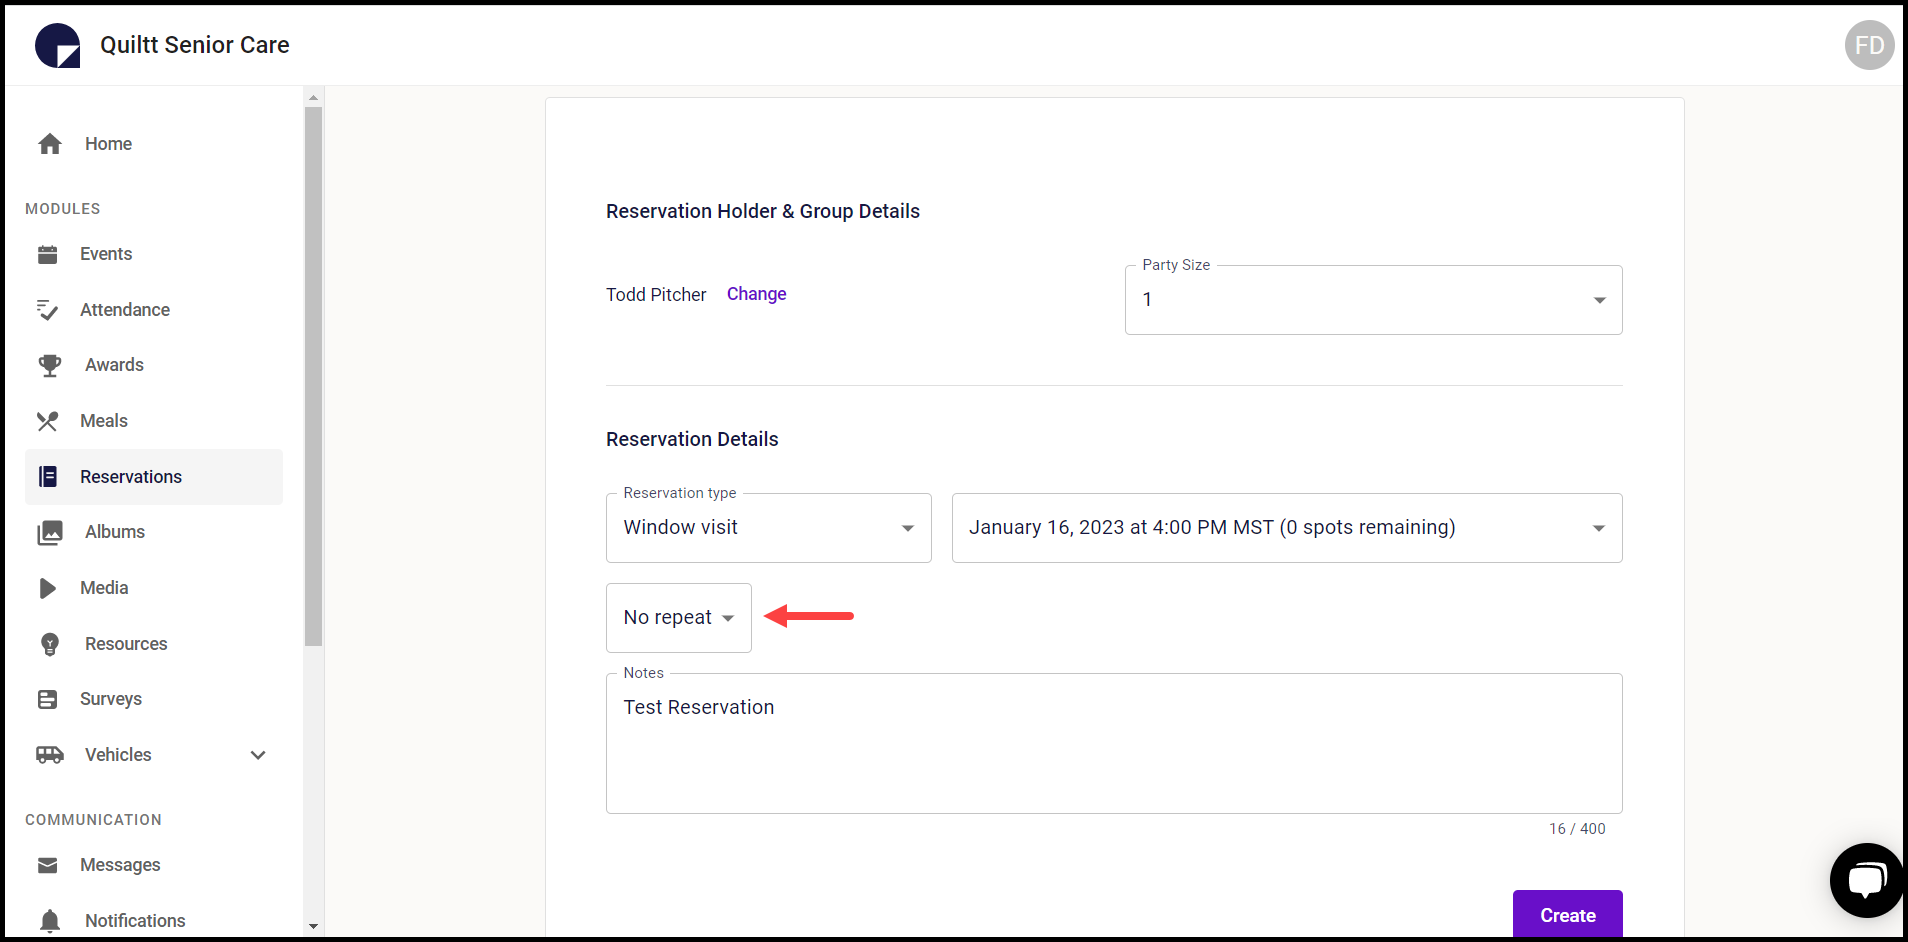
14. Set the repeat frequency for the reservation using the No Repeat dropdown.
15. Any other instructions required can be entered in the Notes textbox.

16. Once all the required details are added, click the Create button.